Vendors want to to work with the estate agent who can sell their property faster and at the target price. Achieving this means attracting as many potential buyers quickly which means you need as many eyes as possible on your listings.
According to Rightmove, interior images get the most views. Buyers need to see a collection of strong, attractive images of inside a property to get a sense if it’s right for them.
This means you need to get your interior photography right!
The lighting in a property can make real estate interior shots a little tricky so where possible, it’s always recommended your hire a pro photographer to ensure you get the best possible images.
If you do your own photography, make sure you’re doing them to the highest possible standard with the Interior property photography tips in this ultimate guide.
But How Can You Still Get Great Shots By Yourself?
There are 8 simple steps you can follow to get the type of photos that will attract buyers and ultimately, impress vendors.
- Prepare the Property
- Colour Splashes
- The Basic Estate Agent Photographer Kit
- Simple Camera Settings That Work
- Get The Height Right
- Straight Shooter
- To Flash Or Not To Flash
- Never Skip The Edit

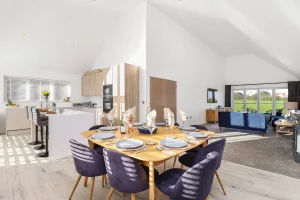
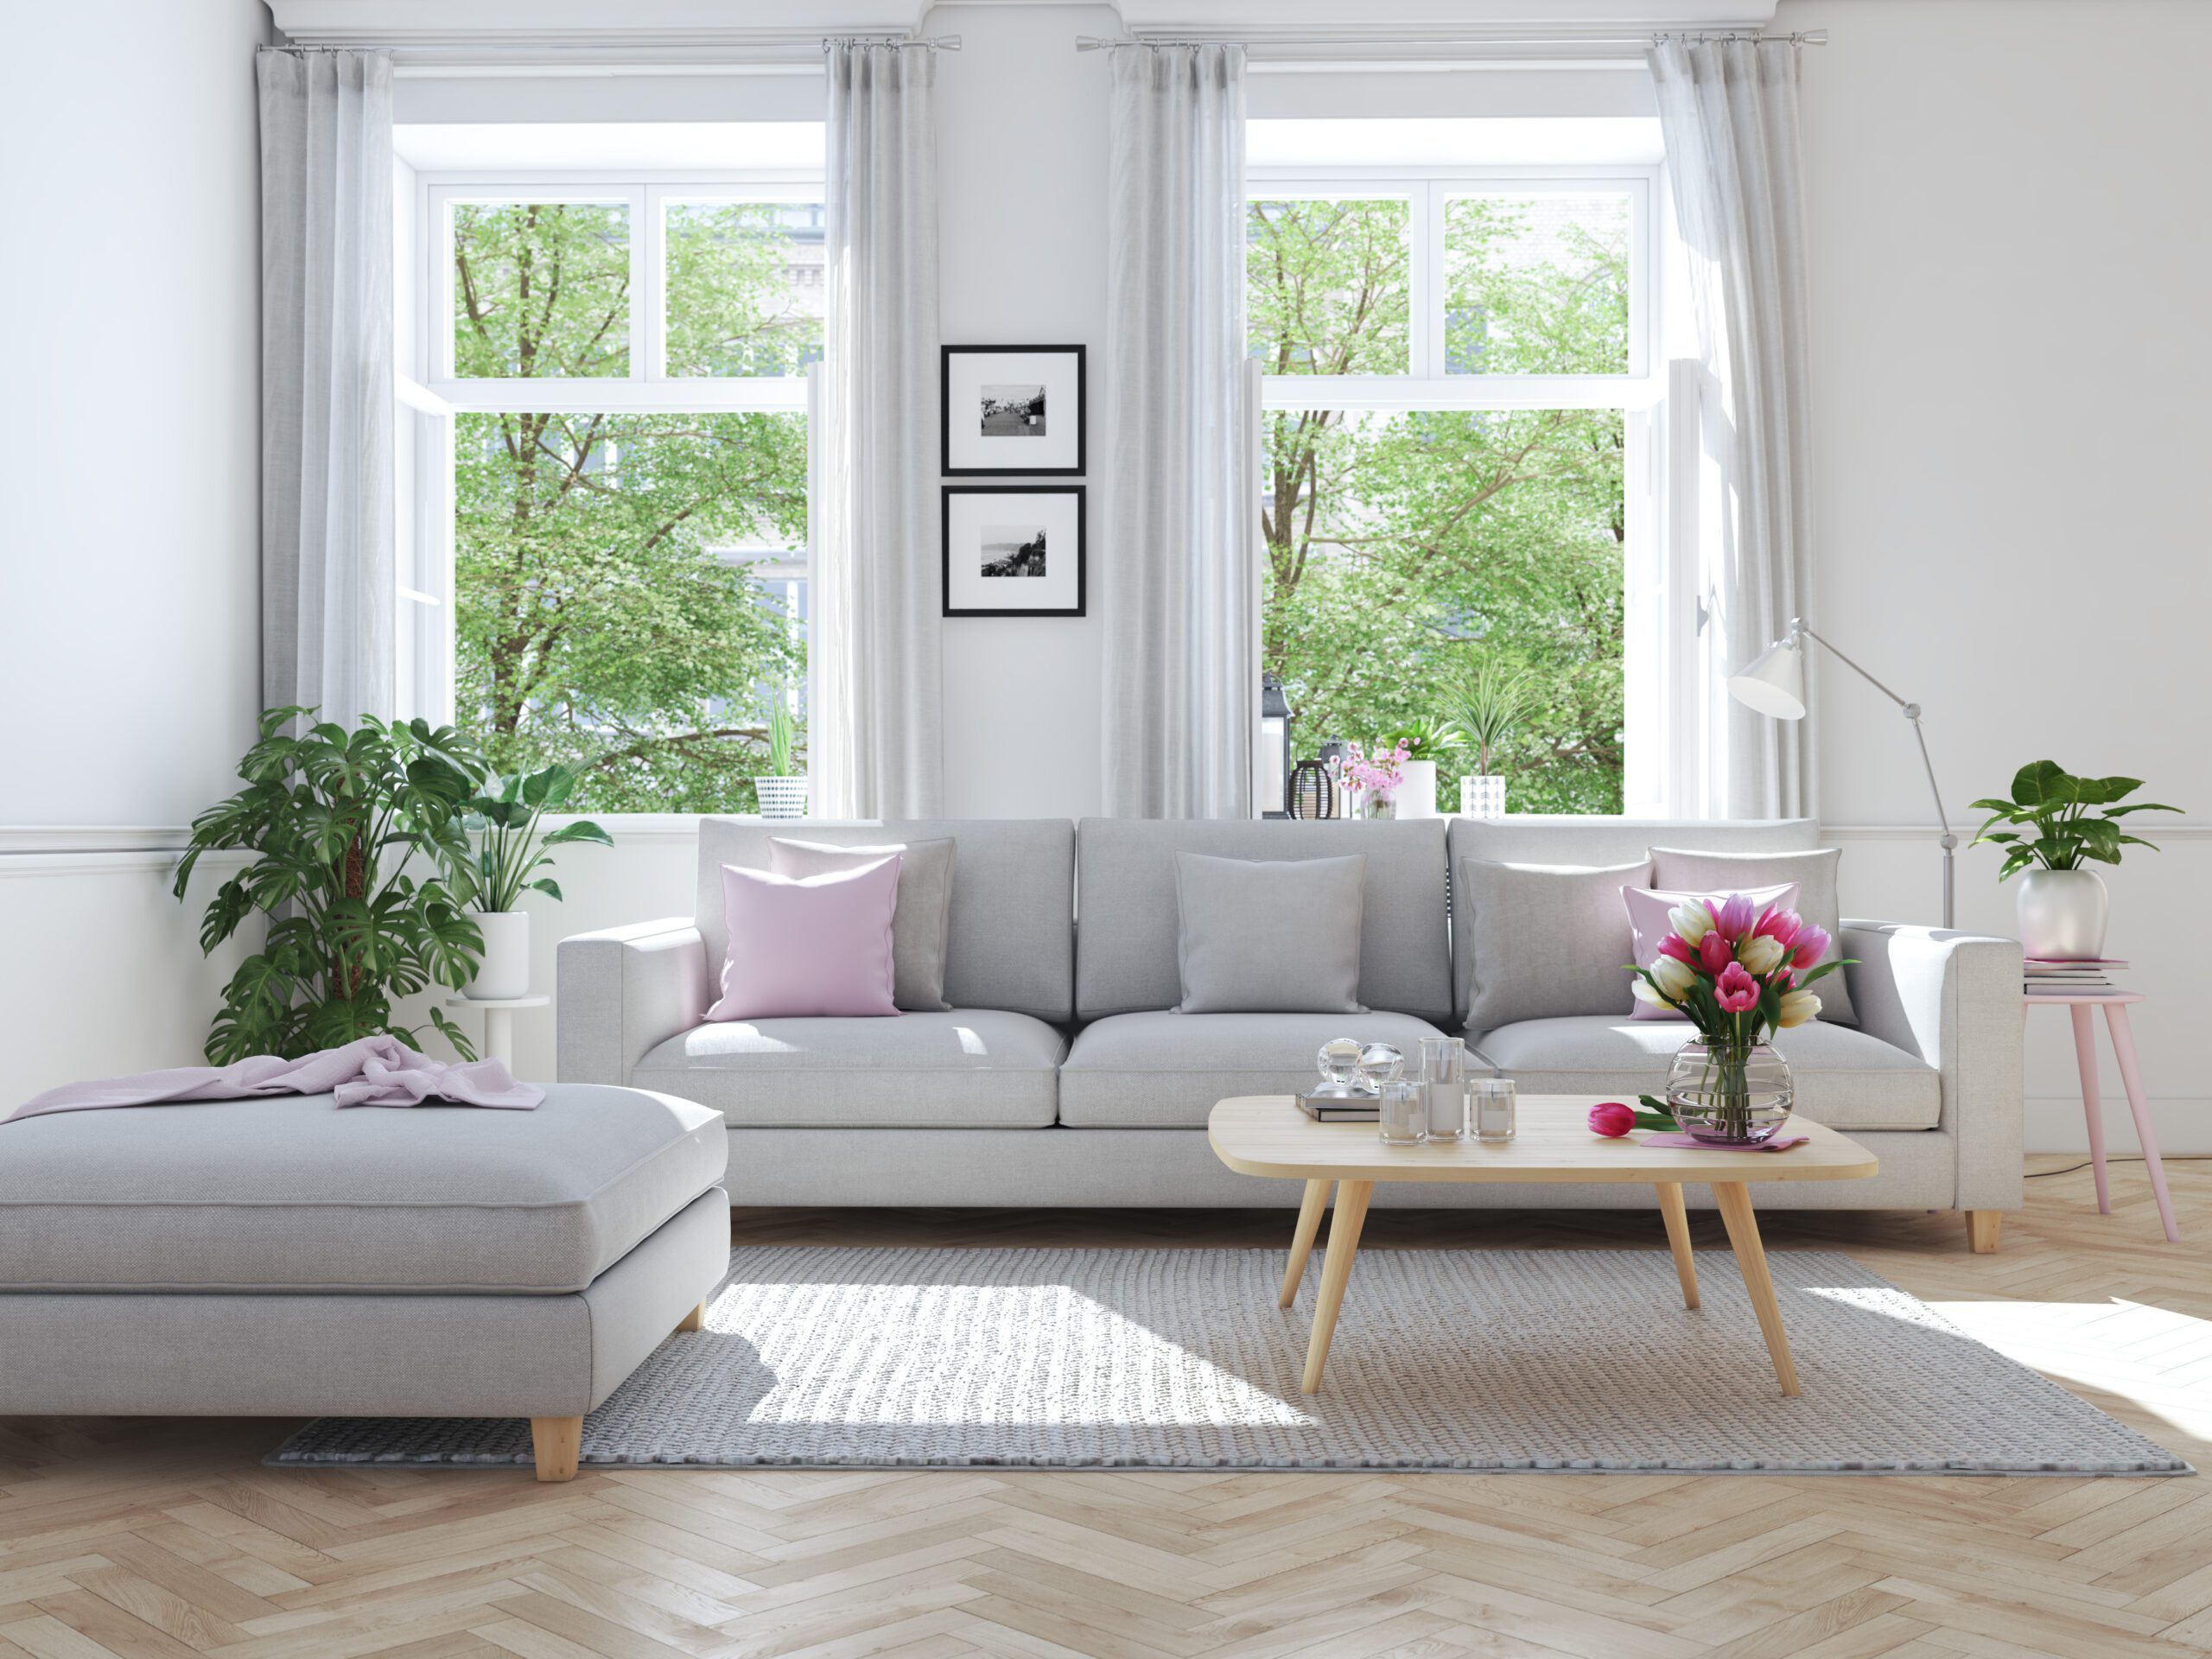
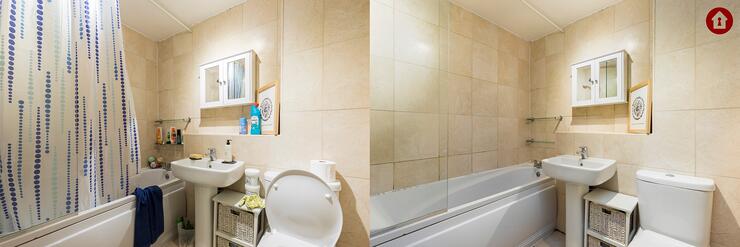
Prepare the Property: Simple Staging
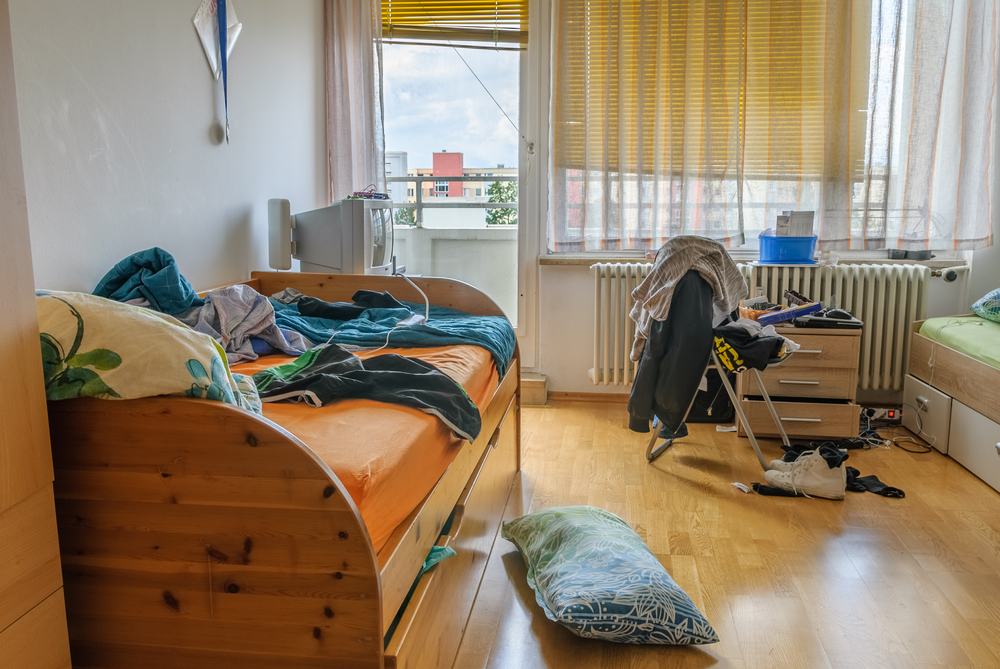
There are fewer things less appealing to buyers than photos of a property that looks messy, cluttered and uninviting.
Remember the purpose of photographing interiors for real estate is to give the potential buyer a visual aid to help them see themselves in the property.
Some basic property preparation tips:
- Declutter all inside spaces
- Remove any rubbish, cars, skips from driveways and outdoor areas
- Put down any toilet seats
- Open all curtains and blinds
- Make beds
You can download a free copy of our complete Property Preparation Checklist to take with you to all photo shoots.
Colour Splashes
One of the easiest ways to boost your property photography is to add a splash of colour to the pictures.
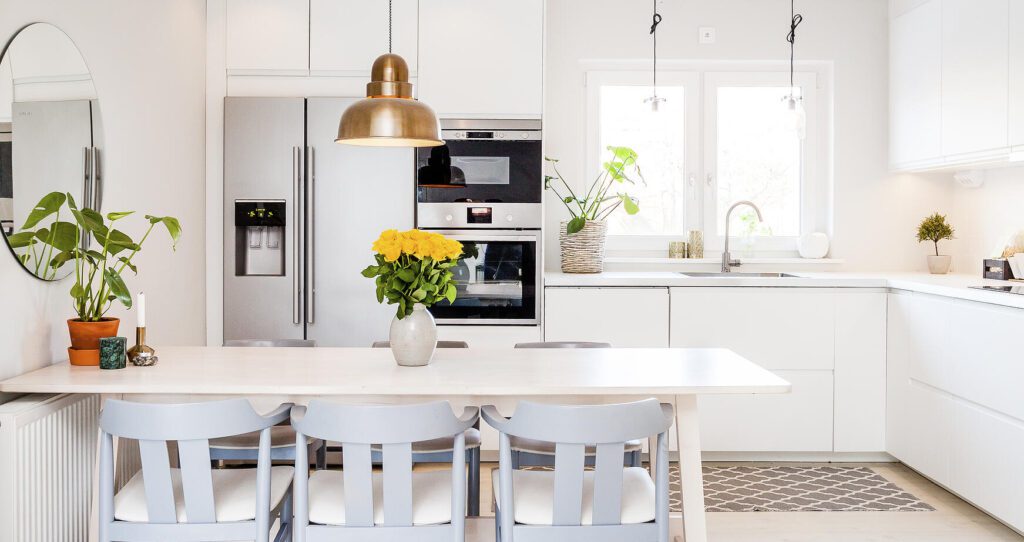
Adding a splash of colour to your photos does two great things:
- Generally makes the property look more attractive and inviting
- Draws the eye and attention of potential buyers when viewing online
The easiest way to add a splash of colour is with a nice bunch of flowers. You can also try a bowl of fruit, an exotic plant or even colourful artwork.
The Basic Estate Agency Property Photographer Kit
Pro or not, you cannot take amazing interior real estate photography with a phone.
The Basic Estate Agent Photography Kit must include:
- A DSLR camera
- A Wide Angle Lens
- A Tripod
- A Memory Card
You can find out more about our top equipment picks for estate agents and how they’ll help you improve your results in our free ebook on Property Photography Mastery.
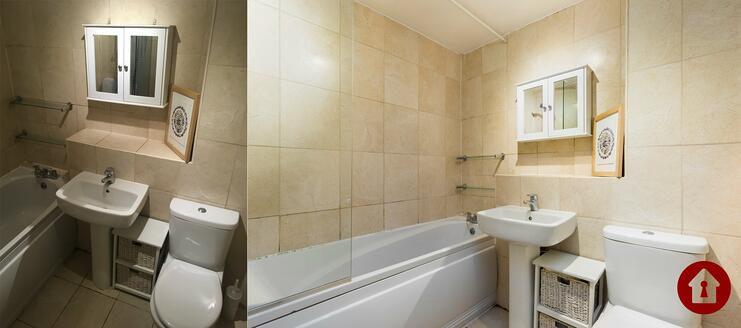
Property photo taken on mobile vs taken by a professional
Simple Camera Settings That Work
A good DSLR camera has a tonne of settings that perform a tonne of functions. Whilst using a lot of these will produce superior photography, they can work against you if you’re not a pro.
For this reason, you want to keep things as simple as possible. We recommend you use your DSLR in Manual mode. You can adjust this on the settings wheel of your camera.
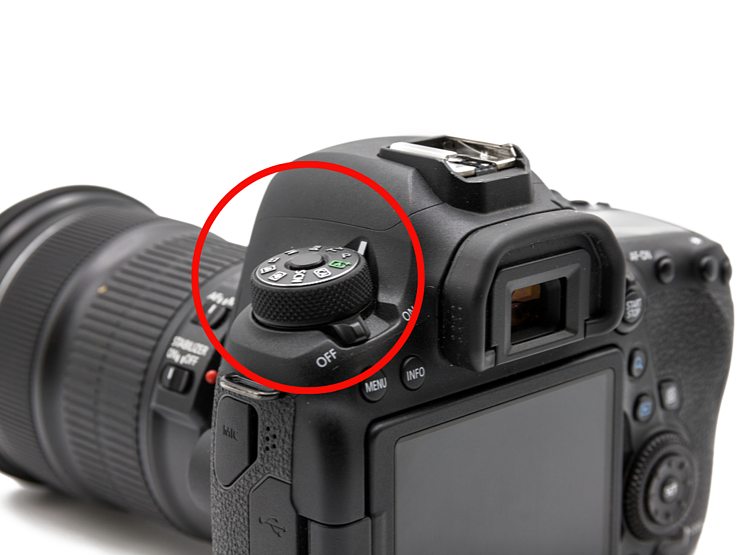
You’ll need to have a look of your specific camera manual to know exactly how to apply the other settings but here’s our recommended interior property photography camera settings:
- Set your ISOs to 100
- Set your Aperture to F/8.
- Adjust the shutter speed until you see the level of brightness you desire in the live view.
Get The Height Right
One of the biggest fails of a lot of estate agent photography is taking images where there is too much floor or too much ceiling in the photo.
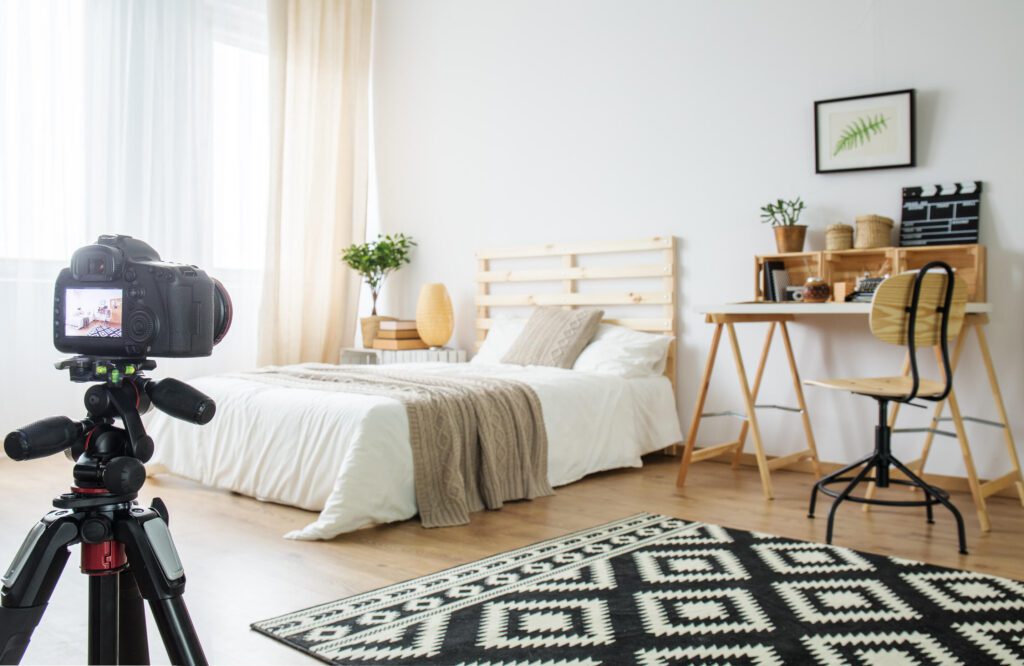
These types of images don’t give potential buyers a good feel for the property. They make it harder to get a good sense of the space.
This is where the tripod in your Estate Agent Photography Kit comes into play. You should take all interior photography using your tripod, unless you’re a fan of bending, crouching and performing acrobats to get the camera into a suitable position.
What Height Should The Camera Be At?
- In most rooms, it should be around 4ft (1.2m) off the ground
- In rooms with worktops, like the kitchen, set the height at around 5.5ft (1.5m) off the ground
Visit our ultimate property photography blog to learn more about how to use a tripod like a pro.
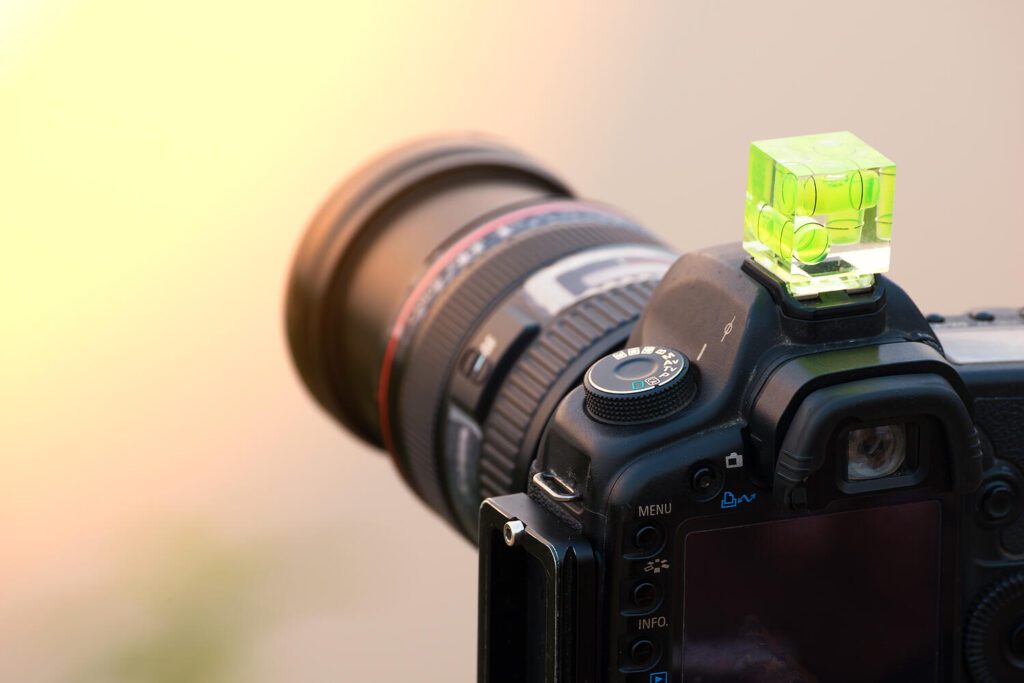
Straight Shooter
Wonky photos are a big no. They are distracting and off putting and do not create eye-catching interior photography.
The tripod will go some way to helping ensure that your camera is straight during shooting but you can also use a spirit level bubble to make sure it’s aligned.
To Flash Or Not To Flash
Like some camera settings, there are some things that are best left to the professionals. The camera flash is one of those things.
If you’re not a skilled photographer, using the flash can create overexposure; where you end up with large patches of light or imbalance in your photos.
To learn some simple tips on how to use a flash properly, download our free guide to Property Photography Mastery.
If you’re not feeling confident, the easiest advice for you to follow is to leave the flash alone and instead rely on natural light and indoor lighting.
To do so:
- Make sure all the curtains and blinds are open
- Turn on all the lights
- If possible, perform the shoot on an overcast day
- Make sure you always follow the next tip in this blog
Never Skip The Edit
All of your property photography should undergo at least a basic edit.
If you know how to do property photo editing, you can use software like Adobe Photoshop or Lightroom.
The Basic Edit includes the following adjustments and corrections:
- Brightness & Contrast Correction
- Vertical Correction
- Shadow Correction
- White Balance
In some cases where there are things that could not be corrected or made ideal during property preparation, you will need to apply more complicated editing. This may include things like item removal or virtual staging.
A great property photo editing service for estate agents is PropertyBox. They manage all of the editing process for you and return perfectly edited photos to you in as little as 4 hours.