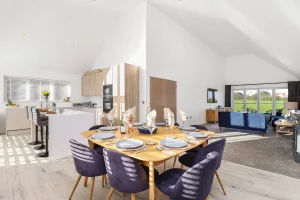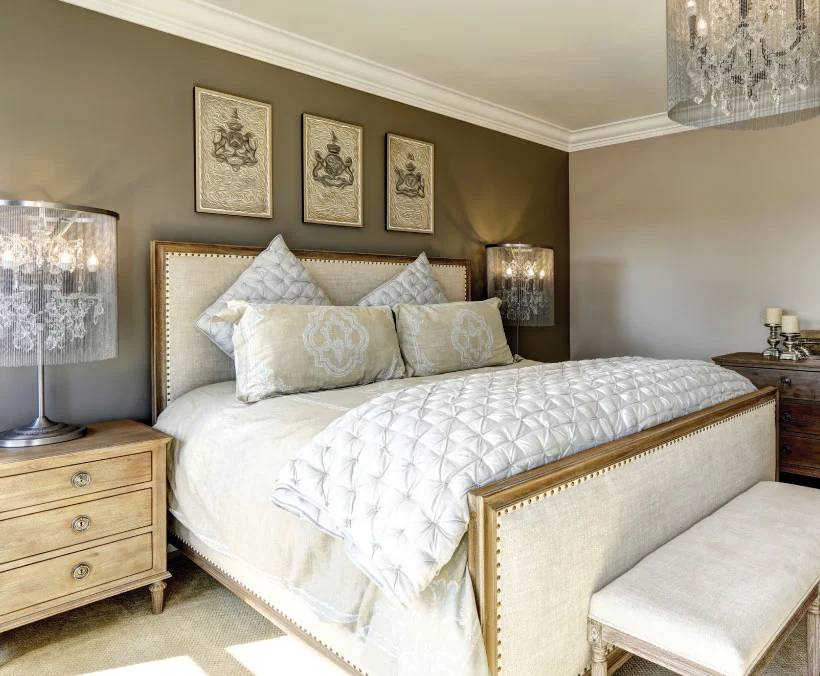
According to Rightmove, interior photos attract more interest on the portals. Whilst they may be the property photos potential buyers want to see, they can be the most difficult to take.
Difficult and uncertain lighting conditions and cramped spaces can make taking high quality internal images of a property quite difficult for someone who is not a professional photographer.
If you aren’t hiring a professional real estate photographer, there are some simple camera settings and equipment set up tips you can use to increase the quality of your interior real estate photos.
To get the complete breakdown on how to take high quality property photography, have a look at our Ultimate Guide here.
What Equipment Do You Need?
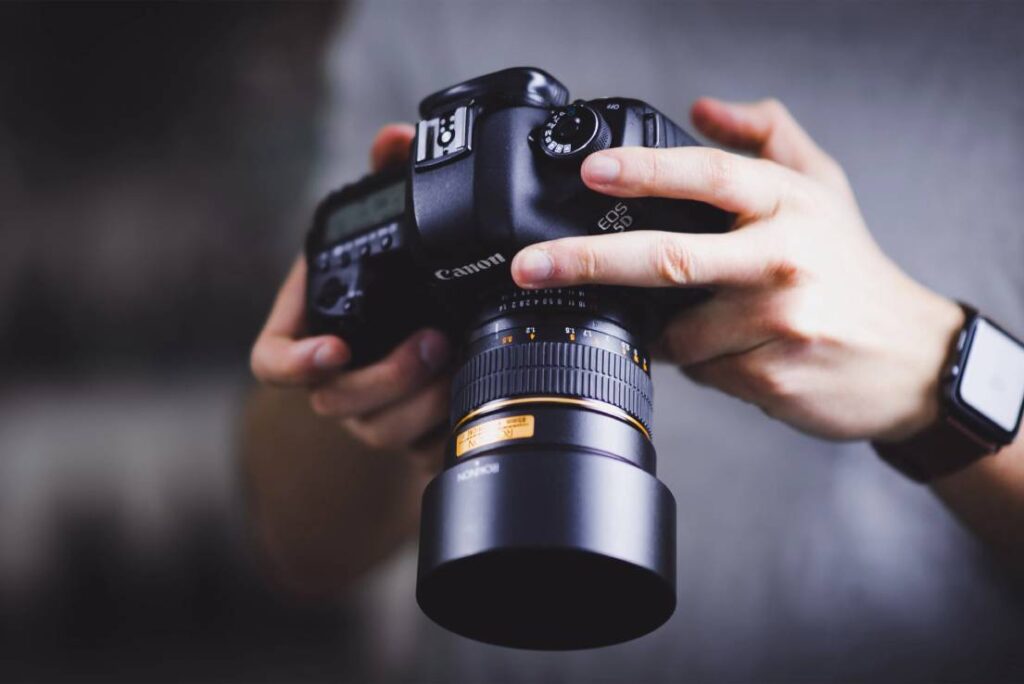
As with all photography, “a workman is only as good as his tools”. This means you need to be using a professional camera, lens and other equipment including:
- A DSLR Camera
- A Wide Angle Lens
- A Tripod With Good Extendability
- A Flash
To find out our top picks of DSLR cameras for estate agents, wide angle lenses and tripods for real estate photography, click the one you want to learn more about.
You can’t take excellent interior property photography with a phone or a compact camera so ensure that your kit is up to scratch before getting started.
What Camera Settings Should You Be Using?
Before we get into the actual settings you should use on the camera itself, make sure that:
- Your image files are JPEG. These are a great file type for uploads to the portals as they are good quality without being too large in size.
- Your image files should be sized between 3-10 MB. Files of this size are again, great for the portals.
Larger file types and sizes will be rejected by the portals like Rightmove and Zoopla or may create slow load times on your own website.
Adjusting The Settings On Your DSLR
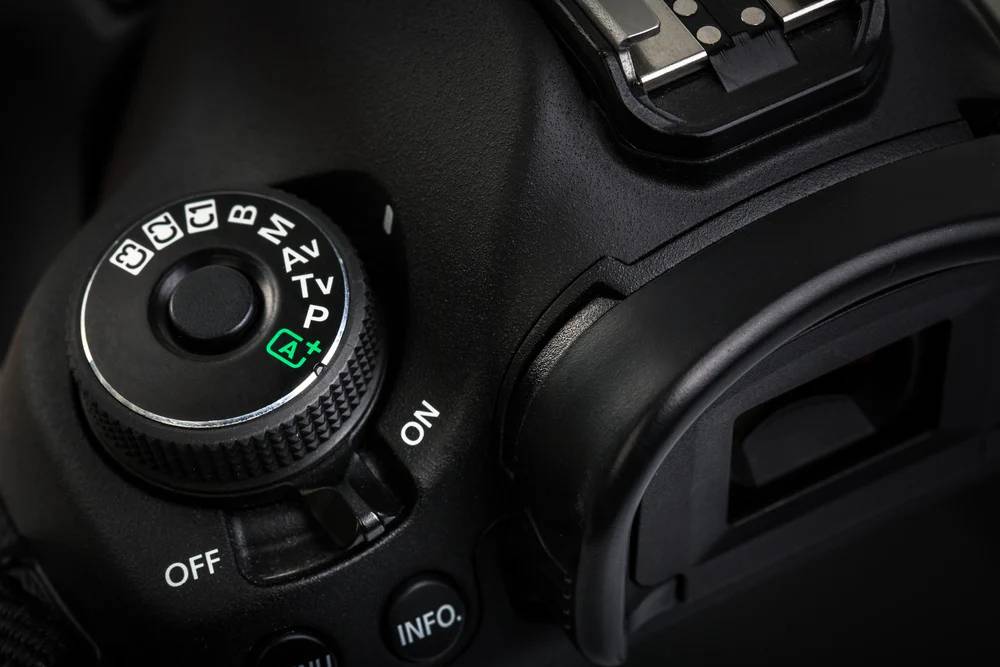
Firstly, it’s a good idea to have a read of your specific camera’s manual to make sure you’re aware of how to adjust the settings. We typically advise using a Canon or Nikon camera as they are user friendly & easy to navigate.
The right hand column of the settings table below summarises what setting to use for interior estate agent photography. As you become more experienced, you may want to play around with these settings but these are simple settings that will generally work across the board – which is handy for estate agents.
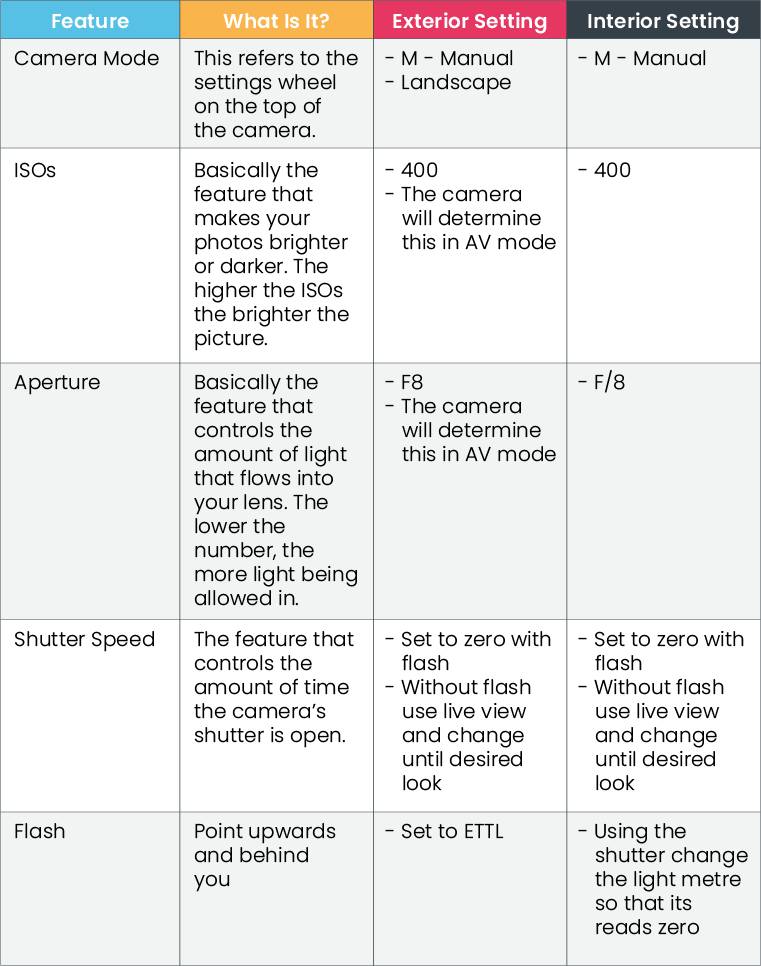
- Change the settings wheel to the manual mode – AV
- Set the ISOs to 400
- Set the aperture to F/8
- Adjust the shutter speed according to how the image looks in the live view (do this at the point of taking the picture)
The main objective of our camera settings here is to manage the light in the room and get an image with a balanced look that isn’t too bright or dark. Looking at your live view (the camera screen) as you adjust the shutter speed will help you achieve this.
| #PROTIP: It is easier to correct a dark photo with professional photo editing than an overexposed (overly bright) photo. |
Using The Flash
One of the biggest difficulties with interior shots is managing the light. Indoor photos are often too dark or overexposed. An external flash can help with this – if used correctly!
If you feel confident to use an external flash, ensure that your shutter speed to at zero and that you don’t point the camera directly at areas of light such as windows.
How Should You Set Up The Shot & Camera Equipment?
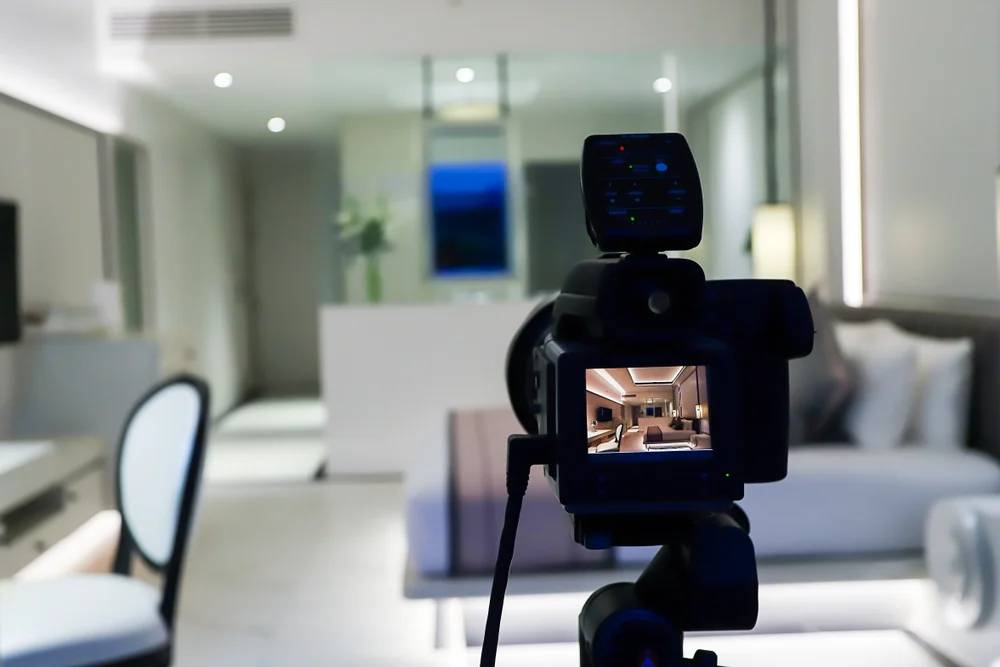
Alongside the actual settings on your camera, great interior photos are produced by great positioning.
You should always use a tripod to take property photos as this provides more stability; helping you to achieve great vertical lines and and making it easy for you to get the right height for taking quality photos. Before you set up your tripod and position the camera, ensure that all the lights are on and that curtains/blinds have been opened so you get as much natural light as possible..
The Best Positioning:
- The tripod should be extended so that the camera is at a height of around 4ft (1.2m) which is typically around waist-chest height. In a kitchen (or other rooms where there are work surfaces to get above), you can extend the tripod to have the camera at around 5.5ft (1.5m) as extra height is needed in these rooms.
- The camera should always be positioned for landscape photos (not portrait).
- Position the tripod in the corner of the room so that you can see 3 walls in the live view.
- Ensure that your settings are correct as above and take the shot!
- Use the timer function or a remote to take the photo in rooms where there is a risk of your reflection showing (usually the bathroom).
| #PROTIP: You can attach a small spirit bubble to your camera to ensure that it is straight. Along with using a tripod, this will help you to avoid wonky photos. |
Outside of these settings, another really important part of great interior real estate photography is ensuring that the property is properly prepared for optimal photos. Follow these easy property prep tips to get your staging & preparation right.
To learn more about taking professional photos of properties, get our free ebook on Property Photography Mastery for estate agents.