Great photos sell homes.
Rightmove describe property photography as essential to making an impression. This is most certainly true but that impression can be good or bad; and the quality of your property preparation could be a determining factor.
There are four key steps to taking good estate agent photography:
- You need the right equipment
- You need to use the right settings and set up for optimal photos
- You need to use professional editing
- AND you need to prepare (stage) the property properly.
To get the complete guide on how to do all 4 of these steps like a professional photographer, visit our Ultimate Property Photography page here.
Property preparation does not have to take hours or be overly complicated; it’s simply a question of knowing what to do and finding simple ways to get it done!
Why Do You Need To Prep The Property?
A poorly prepared property is the epitome of a bad impression. It’s shocking to see the number of photos on the property portals & in real estate listings showing messy bedrooms, cluttered kitchens and grubby bathrooms!
When a property isn’t prepared properly, you pay in one of two ways:
- You spend significantly more in the editing process paying for complex edits such as item removals.
- You lose valuable leads as potential buyers are completely turned off by unappealing photos.
Preparing the property for photos therefore saves you time and money as you can ensure a higher quality of more appealing images without unnecessary edits.
The easiest way to ensure things are properly prepared for optimal photos is by hiring a professional property photographer. If however that’s not an option…read on!
How To EASILY Prepare The Property
Where possible it’s always a good idea to involve the vendor in this part of the process as they can assist with getting a lot of this prep done before you or the real estate photographer attend for the shoot.
It’s a good idea to use a copy of this free Pro Staging Checklist (and where appropriate, share a copy with the vendor) before the shoot to make sure everything is done.
There are 4 preparation steps that often get overlooked but are key to great real estate photos:
- Clean & De-Clutter
- Outdoor Spaces
- The Always Forgotten Essentials
- Simple Styling
For a full rundown of all the property preparation must-haves, download our free Property Prep Checklist here.
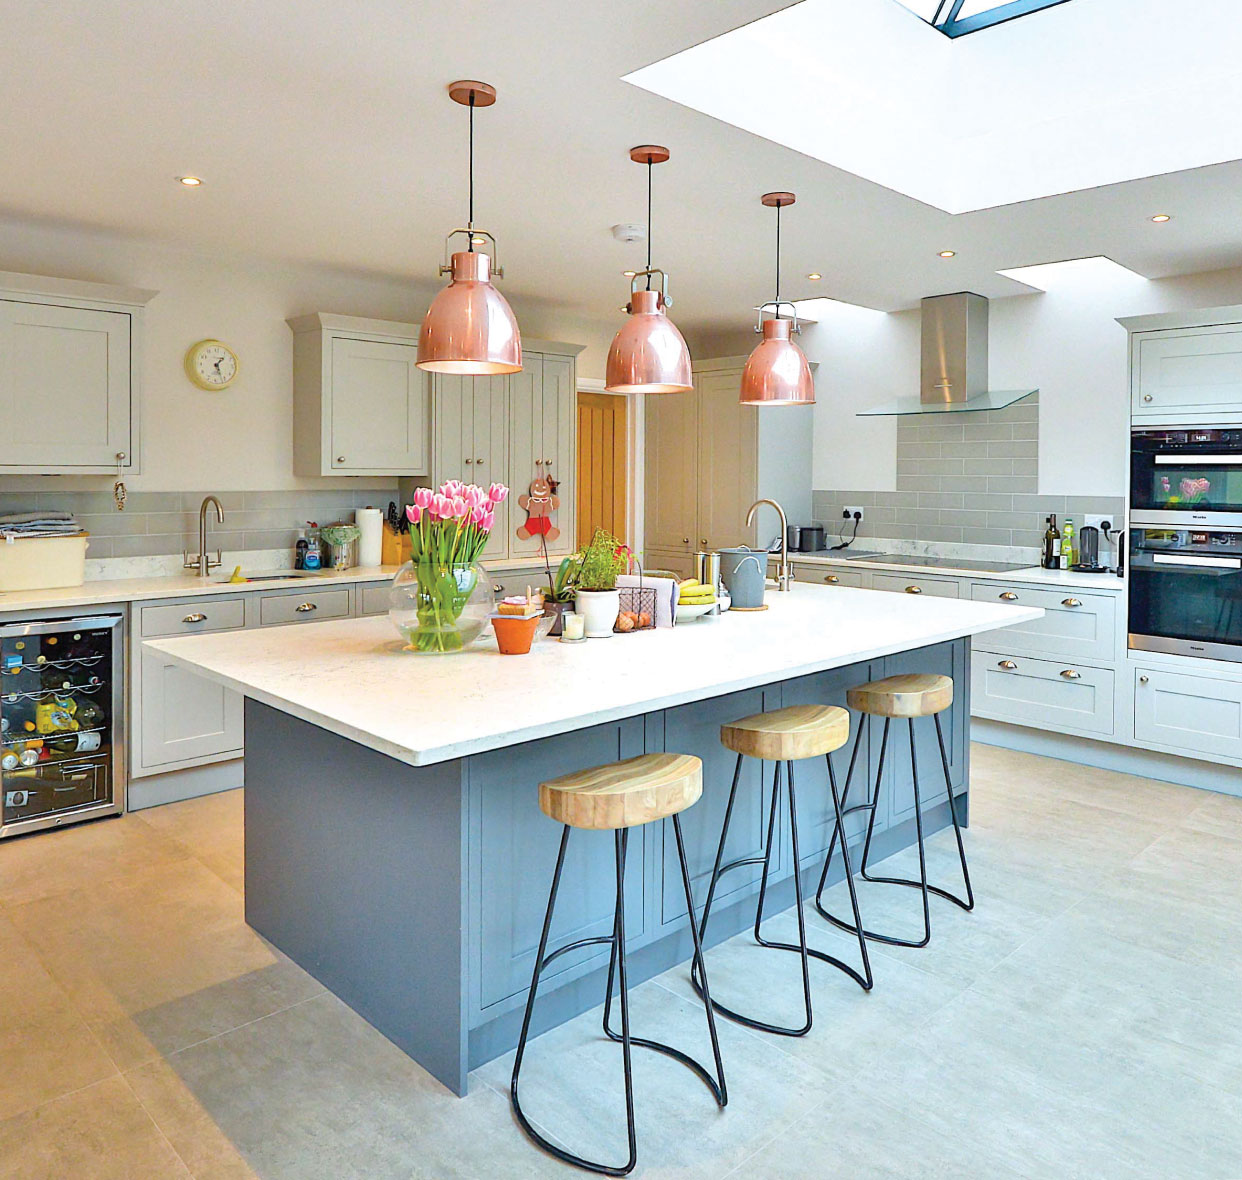
Property Staging Tip #1: Clean & De-Clutter
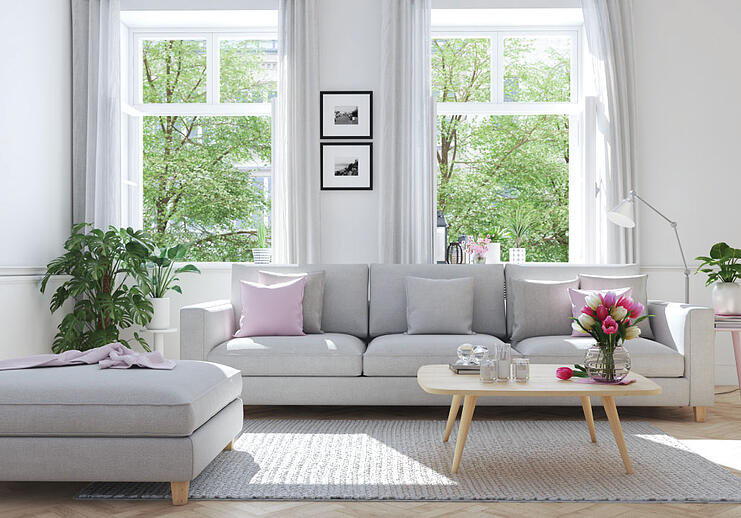
It’s essential that the property is presented in a clean fashion for high quality property photography. This means sinks should be cleared, rubbish bins emptied or removed, beds should be made and all surfaces cleaned.
De-cluttering is often overlooked but if not carried out, can result in under-performing images and/or additional editing requirements. A good de-clutter will include removal of all unnecessary items. Unless they are an aesthetic enhancement, this could include kettles, toasters, remote controls, standing fans and any items that would give the image a sense of being cluttered.
The goal of this part of the preparation process is to create a clear space that is easy for a potential buyer to look at and envision themselves living in. Someone’s personal clutter (even if technically useful) can make this harder for them to do.
Property Staging Tip #2: Outdoor Spaces
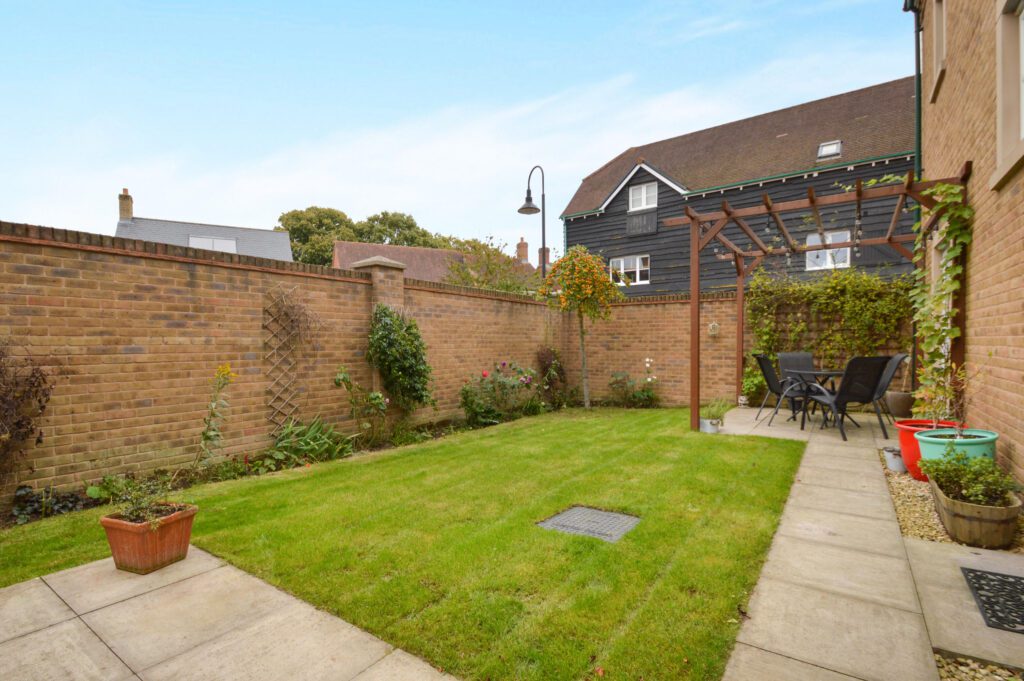
When preparing outdoor spaces, the objective is to make the house, garden or other space itself the focal point of the image. This is difficult where (for example) there are parked cars or a skip in the drive or where the garden is cluttered with rubbish.
All such items should be cleared. Where this is not possible, these items should be removed in the editing process.
We also recommend that any grass is mowed and outdoor furniture is cleaned to make garden areas appear as attractive as possible.
Property Staging Tip #3: The Forgotten Essentials
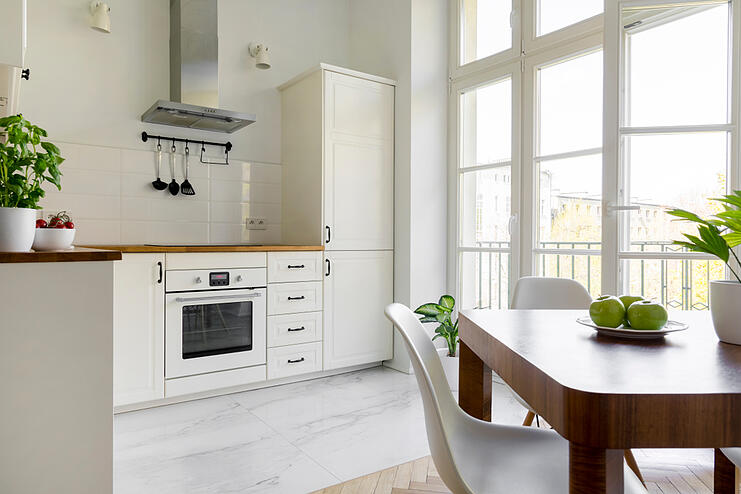
The items in this part of the preparation process are those that may seem insignificant but are in fact a serious turn off to potential buyers.
A massive offender – magnets and artwork on the fridge! These are the kinds of things you want to look out for when taking interior real estate photos. Always Forgotten Essentials are typically personal touches that won’t impress or appeal to a potential buyers; such as:
- Artwork and magnets on fridges
- Toiletries and makeup on bathroom and bedroom surfaces
- Family photos & other personal items
- Pet bowls, toys and bedding
- Put down toilet seats!
Just think : de-personalise. The aim, as always, is to create as clear a space as possible so that the buyer can place themselves in the picture you’re taking.
Property Staging Tip #4: Simple Styling
You may not be an interior designer but there are some very simple styling tips that can dramatically enhance your property photos. These can be easily executed on the day with minimal effort or time spent.
4 simple tips that can really improve the effectiveness of your interior real estate images:
- Add a splash of colours to rooms with a bunch of flowers or a fruit bowl
- Add colour splashes with colourful cushions
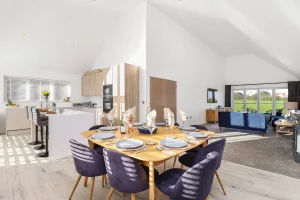
- Set the table in dining rooms (ideally with white crockery)
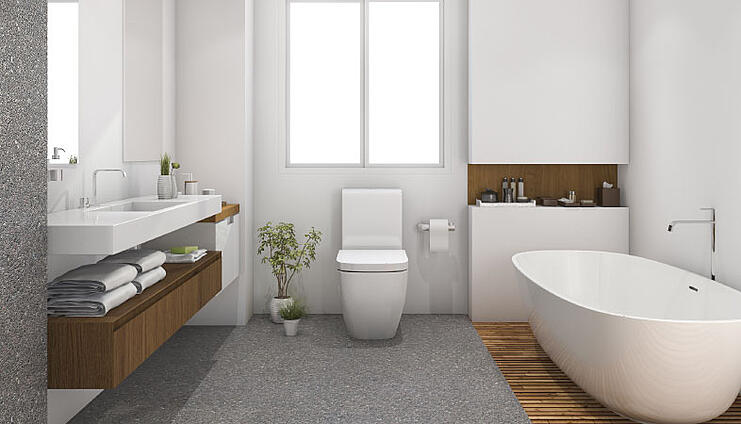
- Hang fresh (white) towels in bathrooms
These 4 simple real estate photography tips will help you to reduce your photo editing needs and maximise the appeal of your property photos to ensure you’re impressing your vendors and attracting the right buyers!
To get the complete guide to all 4 steps of property photography including the best kit for estate agents, download our free ebook on Property Photography Mastery.