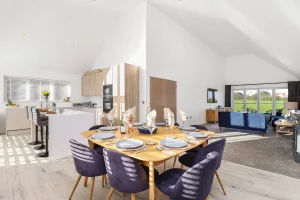
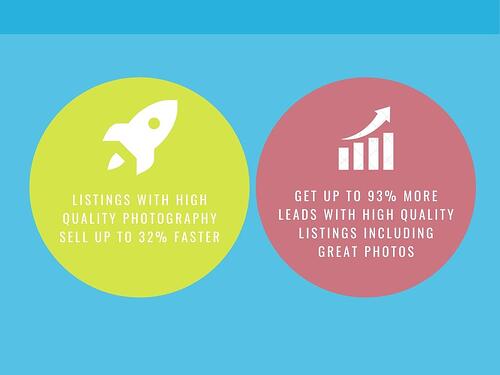
That’s the goal of estate agent photography – sell homes faster so you can win more instructions. It’s proven that the most effective way to attract more potential buyers on online portals like Rightmove & Zoopla is with high-quality photography that stands out and gets buyers clicking! In today’s market, it’s an absolute must to be using professional photography in all your property marketing or, at least, learning how to take quality photos. Properties with high-quality property photography will also sell up to 3 weeks faster.
| “Having great images is essential when making an impression on home hunters.”~ Rightmove |
Your property photos are the first thing potential buyers see – and, according to Rightmove, great listings with great photos can attract up to 93% more leads. The more clicks > the more viewings > the easier and quicker to sell.
How To Take Professional Photos That Attract More Viewings?
Honestly…hiring a professional property photographer is the easiest, fastest and most effective way to ensure your photography is of the highest possible quality for attracting buyers and booking viewings.
Amateur Photographer v Professional
With your property photos being so important, you don’t want to make mistakes that jeopardise attracting the right buyers. If hiring a professional is not an option, there are still strategies that can be followed to produce pro property photography that your vendors will be happy with and that will generate much more interest in the property you’re selling. So HOW Do You Do It? Well, you definitely don’t use a phone! That’s the biggest NO-NO! There are 5 key steps to Quality Property Photography That Gets Results:
- PRO Equipment
- PRO Planning
- PRO Property Prep
- PRO Shooting
- PRO Post Production
To get the completely FREE guide To Property Photography Mastery, click here. The guide is great for passing around among your team so everyone can produce photos of a good and consistent standard.
Pro Equipment
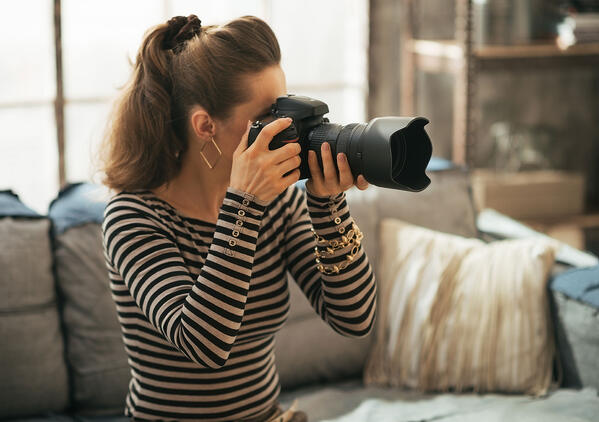
Ok, so we mean “Almost Pro Equipment”. Despite the fact you probably don’t want to spend the small fortune a professional kit would cost, you will need a certain level of equipment if you’re going to start taking the kind of photography that will separate you from your competitors. A basic Estate Agent Photography Kit for creating photography that stands out from the competition will look like this:
- A DSLR Camera
- A Wide Angle Lens
- A Tripod/Monopod
- A Memory Card
- A Spare Battery
The first 4 pieces are the absolute basics for producing high-quality photography. As you can imagine, there are levels to the sophistication of photography equipment – and price tags to go with. The 5th piece is the one that stops you from potentially ruining your whole day when the little battery symbol starts flashing at you midway through a shoot. #ProTip What about a flash? Unless you’re a pro, a flash can do more damage than good. However, when used correctly, an external flash becomes very useful to avoid overexposure caused by light coming through windows. If you don’t feel confident using a flash, it’s easier to rely on natural/indoor lighting as a poorly used flash creates poorly performing photos!! WARNING: This next section may get technical. Our recommendations for equipment do contain some jargon but fear not, you can download our Free Property Photography Jargon Buster here if you get lost at any point. Must-Haves In Your Kit:1. A DSLR Camera As we’ve already said, you can’t take quality photography that attracts buyers with a phone – you absolutely have to use a quality camera. A DSLR – Digital Single Lens Reflex – camera is non-negotiable. We know they can look intimidating for some but the best news is that, at a basic level, you only need to know how to use a few of the features properly to produce photos that will catapult your property listings. You should almost definitely read your camera’s manual to get a clear understanding of the features your specific camera offers. You can get a decent DSLR for under £600 and with it, you’ll be able to do things your phone or a compact camera will never do. Plus with our free ebook on Property Photography Mastery, you can get the whole team trained up so everyone can use the camera on all your property shoots. Our best camera for property photos is: Canon EOS 800D
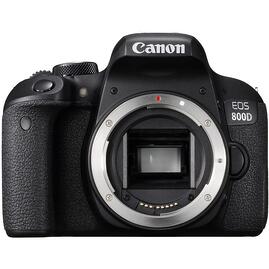

It’s super reasonably priced. We think this is a great camera for Estate Agent Photography because:
- It produces higher quality images because of its higher resolution (24MP)
- It has a longer battery life than most entry level cameras
- Your clients will take you seriously when you show up with it.
This DSLR has what’s known as a Cropped Sensor which basically means it captures a narrower frame than its superior and more expensive counterpart – the Full Frame sensor. If you do feel like splashing out on a real professional calibre camera with a full-frame sensor amongst other superior features so that you can produce even higher quality photography, we recommend the Canon 5D Mark IV. To see our full list of recommended cameras for estate agents, click here. 2. A Wide Angle Lens enables you to capture a wider view of the space you are photographing. It is an absolute NECESSITY for property photography that attracts buyers. This is really important for your property photography as you’ll be selling short if you present cropped images that don’t justly show the space in a room. If you don’t use a wide-angle lens, you just won’t be able to capture a sufficiently wide enough view of a room to create an attractive photo. After all, there’s only so far into a corner of a room we can push ourselves to get the shot!!! One of our favourite Wide Angle Lens for property photography kit is: Tamron 10-24mm Wide Angle Lens F/3.5-6.3 Di-II VC
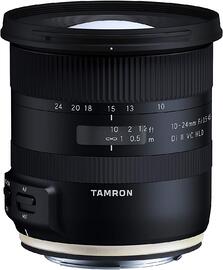

**Don’t forget to check that the lens you choose is compatible with your camera! Whichever lens you choose for a Crop Sensor Camera make sure it’s 10-18mm wide. If you do go for a Full Frame camera, a Wide Angle Lens will still be beneficial and you should go for one that’s 16mm wide.
View more of our favourite lenses for property photography here. 3. A Tripod (Plus Monopod if possible) Ok, so our recommended criteria for this one isn’t too technical – make sure it’s not flimsy! We’re going to get into why you need a tripod shortly but until then just don’t totally cheap out on it! Our fave tripod (which comes with a monopod in the kit) for your kit is: Neewer Carbon Fiber Tripod & Monopod
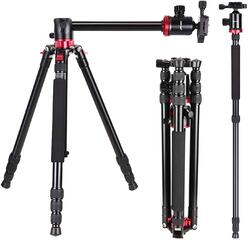

Your tripod also needs to be able to extend to the right height for great photos. You can check out our list of best tripods for real estate photography here.4. An SD Memory Card High-quality photos are large files and you’ll need a memory card to store those files on your camera. A memory card also needs to have fast read and write speeds to work effectively. What you don’t want is to be halfway through shooting a property and run out of memory on your camera. It’s therefore a good idea to get a couple of memory cards of at least 64MB. Our recommendation is: Sandisk Extreme Pro (64GB)

Make sure your memory card is compatible with your camera and don’t get a Micro SD by accident! 5. A Spare Battery A simple tip to avoid frustration – trust us! Just buy the spare battery that matches whichever camera you choose to buy. So you’ve got your basic Estate Agent Photography Kit. Now let’s get into the 4 stages of actually taking property photos that attract viewings and help you sell your listings more quickly.
Pro Planning
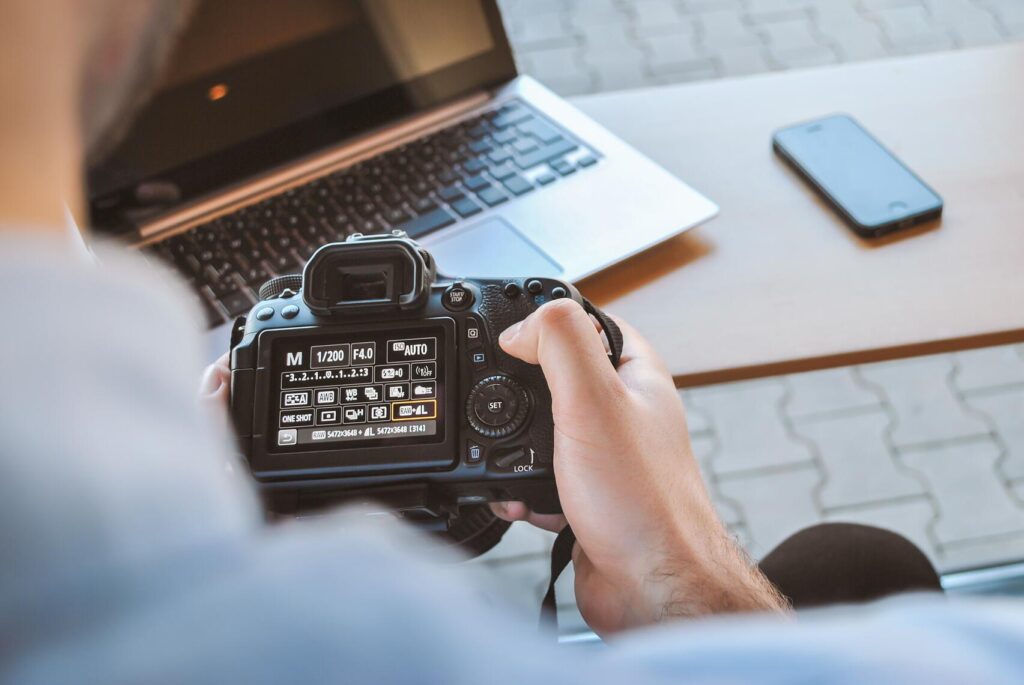
There’s nothing more disappointing than turning up to a property without a plan. Estate agents who do this often find themselves walking away without the shots they need to successfully market and sell properties online! You need a clear plan for a successful shoot so that:
- You get the right number of photos you need to attract maximum viewings.
- You get the right type of photos you need to attract maximum viewings.
- You impress the vendor and maximise your chance of referral.
What Is The Plan?
- Having a shot list to make sure you get all the right pictures
- Having the right amount of time to take the photos
- Choosing the right time for your photo shoot
- Making sure you have all the right equipment with you!
The Shot List – Getting the Right Shots
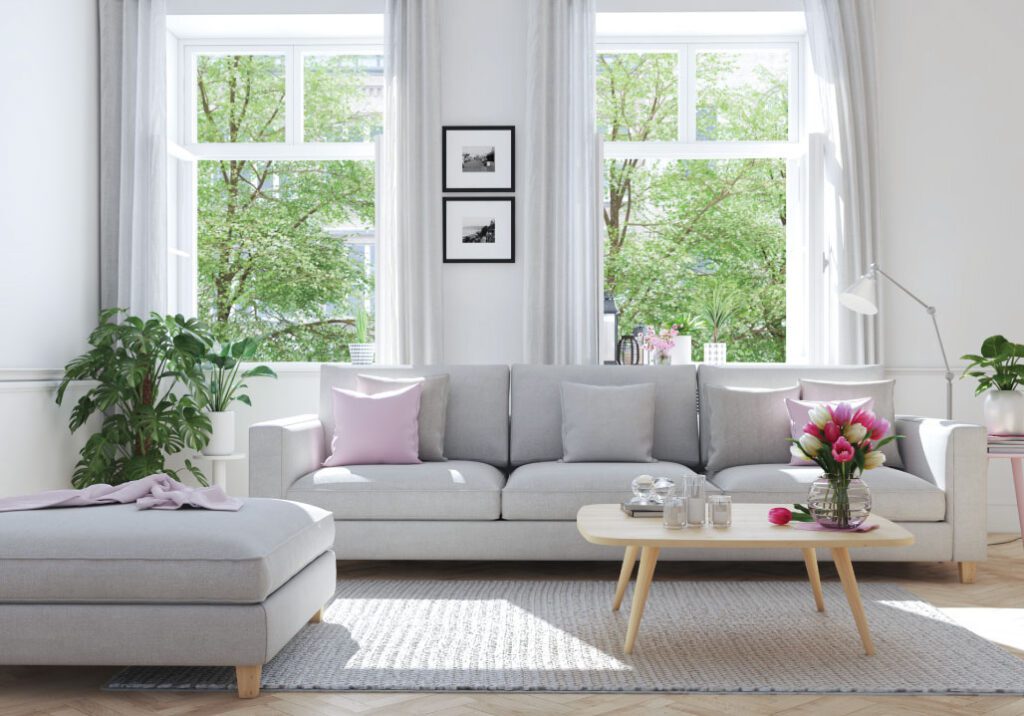
Obviously, the shots you need will depend on the house you’re shooting. Larger houses will generally require you to take more time to take more photos. By the end of the shoot, you want to end with 15-20 usable photos. This will enable you to upload what you need to Rightmove, Zoopla, OnTheMarket etc but you’ll also have enough photos to refresh your online listings in the future if you need to. Pro Tip: The ideal number of photos on your listing is 5-9. The best practice then: take 2-3 clear shots of each room. You won’t use all of them but it will ensure you have everything you need. We also recommend taking a clear photo of any exceptional features that a potential buyer might consider both valuable and desirable. You can download our Free Full Shot List For Pro Property Photography here. This is a great resource to have with you on the shoot so you can tick everything off as you go! You can use this shot list for any property – obviously taking those 2-3 extra shots of any additional rooms if they come up. How Long For A Shoot? Rushed photography shows. In this day and age, especially with many vendors listing with multiple agencies, there is no space for rushed photography: You won’t get all the shots you need. You won’t get the quality of shots you need. You won’t get the enquiries and viewings you need!! Yes, we hear you! You’re an estate agent, not a photographer. You haven’t got all day to be taking photos! This is why where possible, we say hire a Pro but if that’s not an option, you have to make the time. 95% of people looking to buy a property are searching online – this is where they first encounter any listing. Your pictures are their first insight into whether a property is for them or not. Listings with poor or unappealing photos do not get clicks (enquiries). Lack of clicks equals lack of viewings. Lack of viewings equals slow or no sale. Lack of sales equals…well you know that one. Photography is make or break. With this in mind, you should allow around 2 hours for a full property photography shoot. This will give you enough time to cover a 3000 sq ft property. Obviously, the time will adjust for larger and smaller properties. When’s The Right Time To Take The Photos?
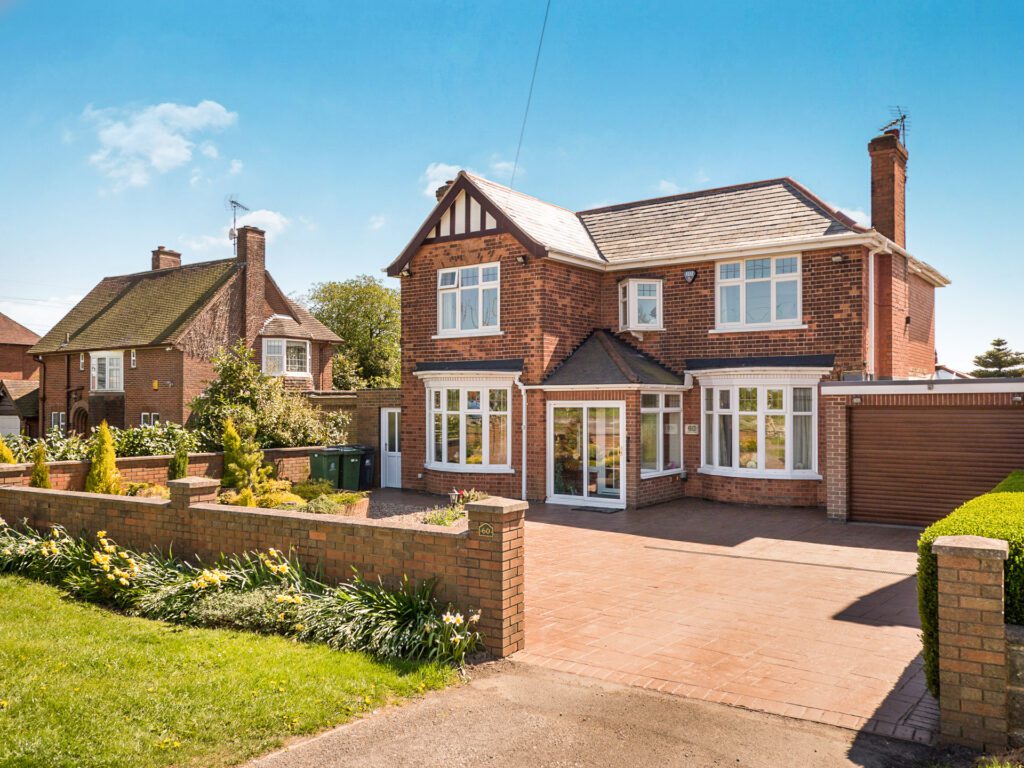
Thanks to the power of post-production, the answer to this question is a little more flexible than it would have once been. As a blanket rule, interior shots are usually best taken when it’s not too bright outside (because of overexposure – an image that is too bright / blown out). On the flip side, exterior photos always look better with a bright blue sky but seeing as we don’t yet have a guide for changing the weather on-demand, just know that it is generally easier to fix a darker picture than one that is too bright and overexposed (something that often happens during sunny periods). Therefore if you have to choose, less bright times of day are generally better for taking both interior and exterior photos. Pro Move: If you fancy having a go at a real Pro-shot, try taking photos at Dusk to get that sunset, pretty sky look! Have you got your kit?? Sounds basic. But forgetting your lens, your tripod, even your camera isn’t as uncommon as you might think! Our advice, pack and check your kit the night before your shoot so you don’t end up having to do a panicked run back to the office to grab something you forgot! And don’t forget to charge the camera!!! OK! So you’ve got the kit and you’ve got a plan. Time to prep the property.
Pro Property Photography Prep
We’ve all seen property photography where someone didn’t follow this critical step.
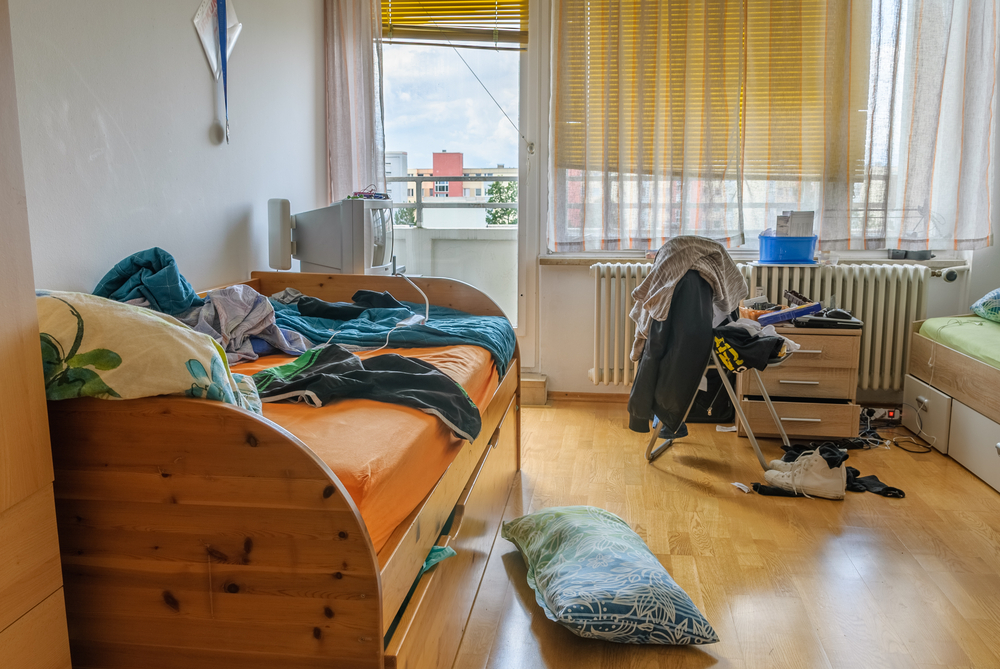
Please. Please. Please. Do not skip prepping the property. Ideally, this is a part of the process where we want to get the vendor involved. The more they can do in advance, the better and easier it is for you. Download our Free Pro Prep of The Property Checklist here so you can give it to your Vendor or use it for yourself as a guide for prepping the property like a pro. Steps to Property Prep1. The Walk-through Walk through the property to check which of the following things need doing before you begin shooting. Also, check that your shot list stacks up and jot down any extras on your checklist if you need to. 2. Other Things To Do

Remove cars off drives where possible.
- Get cars, bins, skips and other rubbish off the drive / front
- Open all doors, curtains and blinds
- Turn on all the lights
- Remove as much clutter / mess as possible
- Excuse any potentially photo-bombing pets
- Remove magnets and any artwork from fridges.
- Make sure toiletries in the bathroom are out of sight
- Turn off TVs
- Put any toilet seats down
3. Easy “On The Day” Interior Tips To Improve Your Photos:
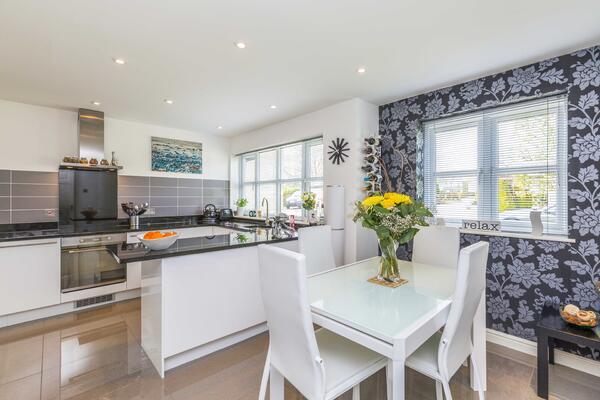
- Add splashes of colour to Kitchens & Bathrooms in the form of flowers, fruit bowls or plants.
- Set the table in dining areas
- Hang fresh towels in the bathroom(s)
Incorporating a colourful bunch of flowers adds a splash of colour that makes interior photography more effective. Improve your property photos in an instant with these 8 simple interior property photography tips. If your vendor wants tips on how to go the extra mile in preparing their property for sale, you can hand them our Free Pro Prep of The Property Checklist for even more advice.
Pro Shooting
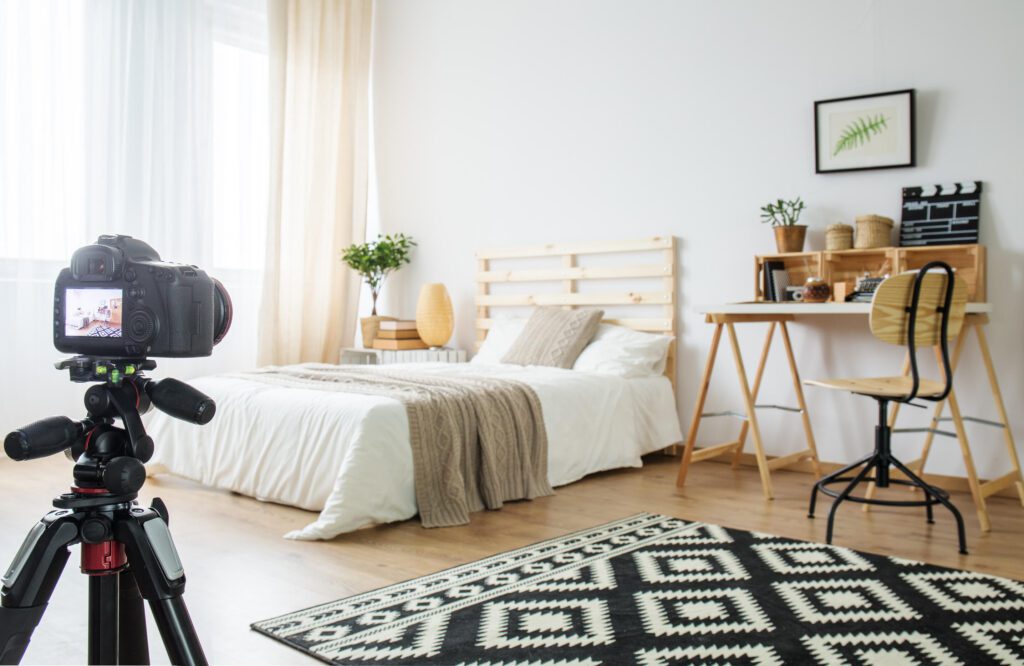
So here comes the tough bit. Great photography is a skill; sadly not one you can pick up reading even the best of guides! But our Pro Shooting process is effective and simple enough for anyone to pull off. Step One: Your Camera SettingsFile Type Make sure your photos are saved as JPEGs. Whilst RAW files are probably the best possible option for editing, they’re really large so not ideal for uploading to portals like Rightmove, Zoopla and OnTheMarket. File Size 3-10MB. These are small enough to easily upload but big enough to give a top quality finish. Resolution This is basically the amount of detail a photo captures. You’ll want to take pictures in a relatively high resolution of 12 megapixels (MP) or above. Summary – Camera Setting Basics:

More Camera Settings: Slightly More Technical Ones We’ve already said you don’t need to know how to use all the features on your DSLR but now that you’re using one, using a few of them will take your photos to another level. We DO NOT recommend using auto settings on the camera. These settings just won’t produce the type of photography that stands out and generates more leads from your listings. As you get more skilled, you can play around with these settings to make taking your photos as easy as possible whilst giving them that high quality finish.
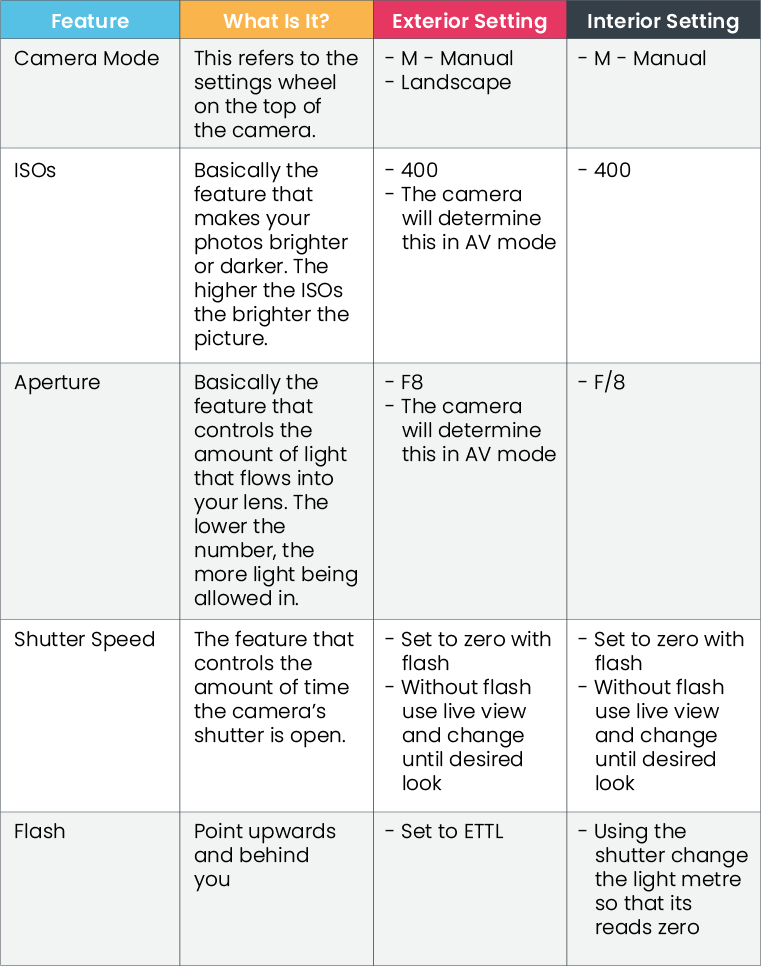
Now that your camera is all set up, you’re ready to shoot! Step Two: Shoot Remember this is a good time to think of your likely buyer (if there is a clear one):
- Are there rooms / areas the likely buyer will be particularly drawn to? Do you need multiple angles of these?
- Are there pieces of furniture / features that the likely buyer will be particularly drawn to ? Do you need to get specific pictures of there?
By the time your photos are uploaded to the online portals, they should present a vision that the buyer can see themselves in. Yes, you’re showcasing the features of the property but you’re also selling an idea to make it look as applicable as possible! If anything comes up when you ask these questions, add the shots to your list. How To Take Quality Interior Property Photography
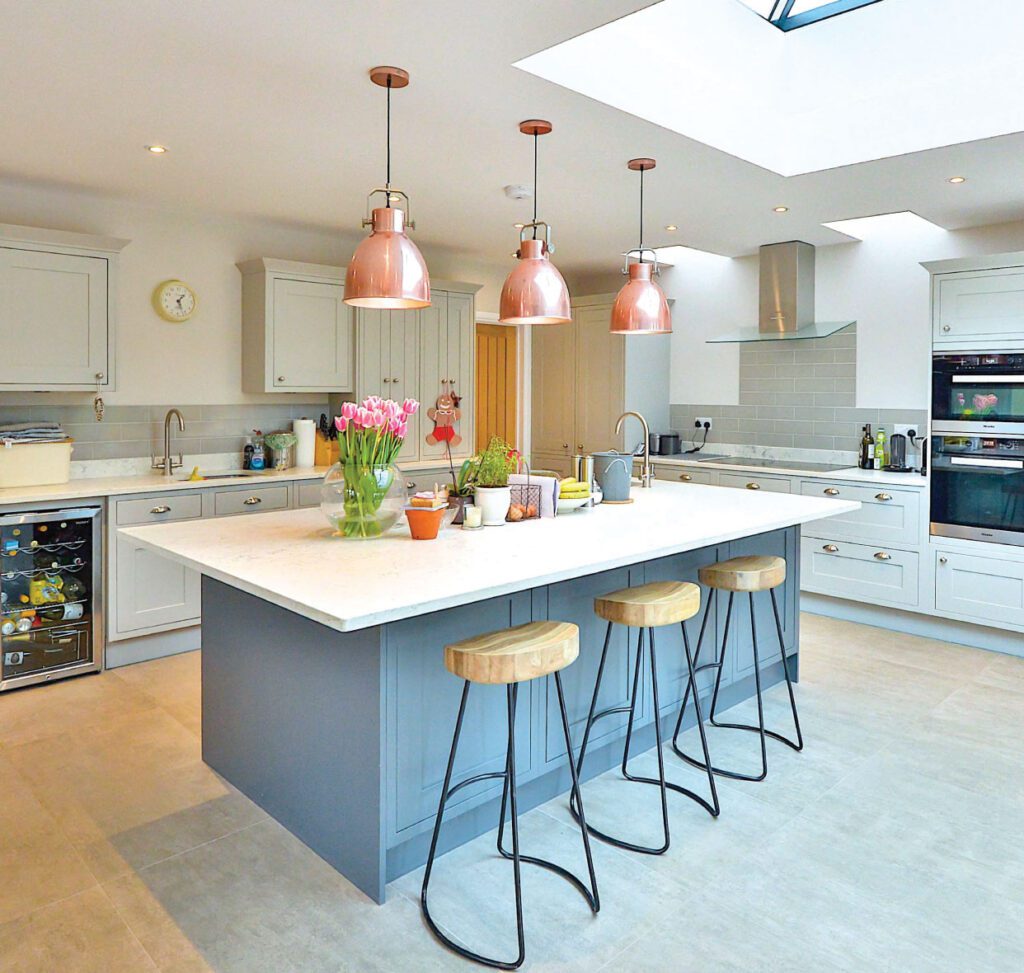
- Set your camera up on your tripod. The tripod should be between waist and chest height, around 4 ft (1.2m) off the ground. In the Kitchen, you’ll more than likely need more height so set the tripod at around 5.5ft (1.5m).
- Keep your camera LANDSCAPE (not the mode, the camera itself). We’re not Instagramming here!
- Take the pictures from the corner of the room so that you get 3 walls in the shot. You can take these shots from the door or towards it. If the room is too small, take the shot from the doorway.
- Use your timer function / or remote so that you can get out of the way before you take the picture if there’s any risks of you showing up in a reflection. Important in bathrooms!
- Avoid too much ceiling or too much floor by taking your pictures at around 4ft off the ground.
| Pro Tips: Try not to have any half in / half out features. Take some shots aiming the camera where you want the viewers’ eyes to go Use a Spirit Bubble to ensure your camera is straight! This will help prevent wonky photos. Don’t focus on a window as the extra light coming in can make the picture look darker. If you’re feeling super skilful, try some expert shots – like taking pictures from the doorway of a room. |
How To Take Quality Exterior Photos
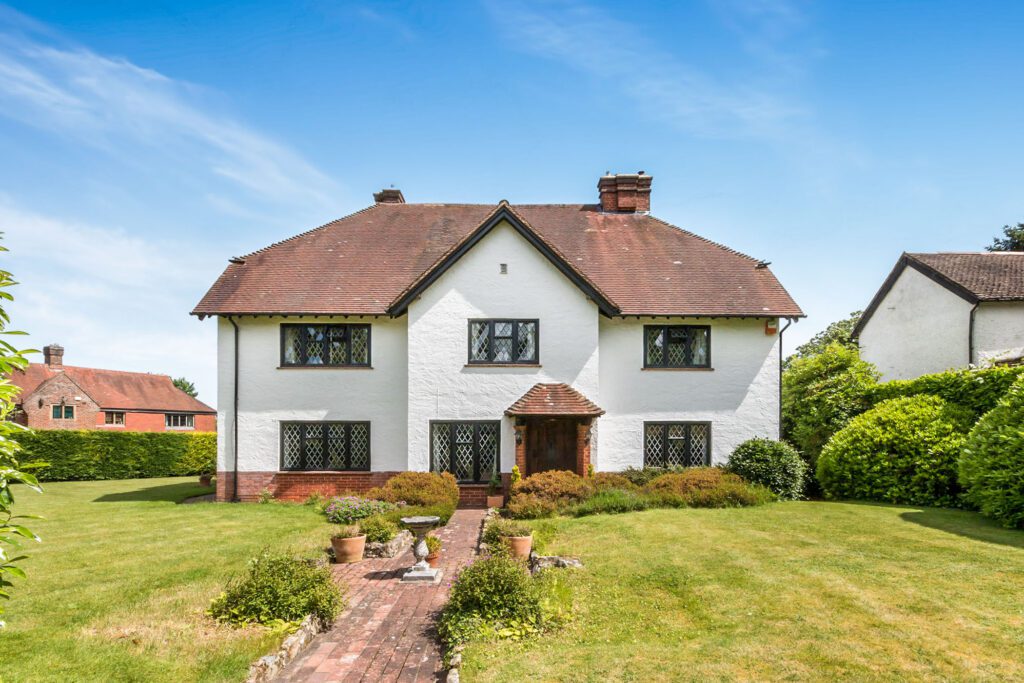
- Set your camera up on your tripod. For exterior photography, height is key. 6 feet off the ground is a good starting point but go higher if you can. Your monopod will come in handy here if you have one.
- Choose an angle that is unobstructed and don’t be afraid to try a few different ones. Photos taken from an angle (rather than head on) do give a sense of depth so are is always a good option!
- Include any stand out features such as attractive trees / garden features in the shot.
- If you are capturing a view from the property, try to include a balcony rail or some other feature of the home to give a sense of perspective / purpose.
- Do not take photos with the sun shining directing at the lens. Photos with this kind of light distortion are not the easiest to correct even with professional editing. If this isn’t possible, use your hand to block out the sun.
Remember you want to take around 2-3 shots of each room. This way you’ll protect yourself if any photo doesn’t end up looking quite as you hoped!
Pro Post Production
BIG. BRIGHT. EYE-CATCHING.
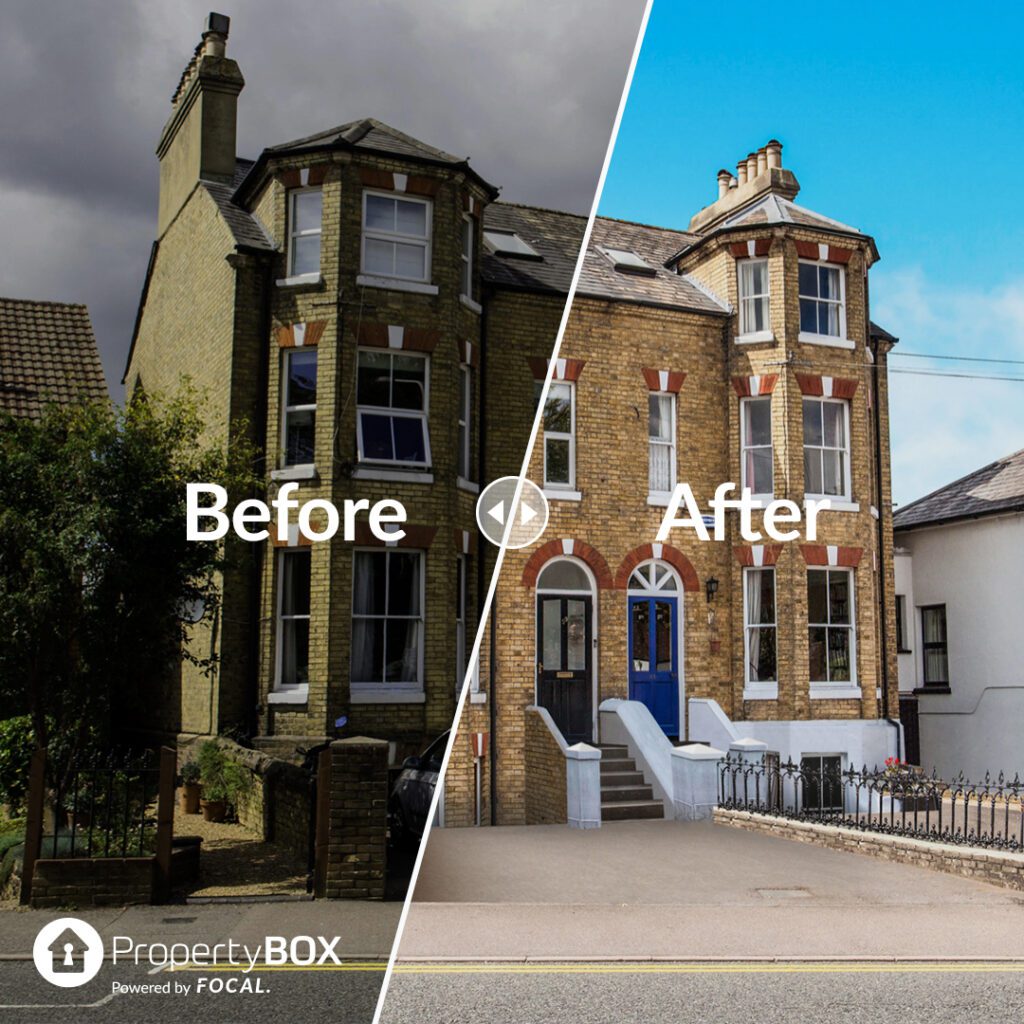
Professional Photo Editing From Propertybox That’s the goal of post-production – or photo editing. Have a look at these terrible estate agent photos and how they could have been improved with good photo editing here. The photos you take following this property photographer training guide will make for a much better basis for image enhancement and editing. You may find that the weather just wasn’t on your side on the day of the shoot. Pro Post Production can help. You may have been shooting a tenanted property where it just wasn’t possible to clear out all the clutter. Pro Post Production can help with that. What Software For Editing Your Photos? If you have the skillset for editing, the best software is either Adobe Photoshop or Lightroom. If photo editing is not quite your forte, consider a service like PropertyBox that does all the work for you and returns your photos – fully edited – in less than 24 hours. What is Photo Editing? In the Best case scenario, your pictures will only need a Basic Edit. For photography that really stands out and gets the clicks you desire, we recommend you put all your photos through a Basic Edit. The Basic Property Photography Edit
| Brightness & Contrast | The process of adjusting the colours in a photo to make them as accurate and eye-catching as possible. |
| Blue Sky Replacement | This is an enhancement technique for exterior and window view shots to give photos the best possible finish with a blue, clear and appealing sky view. |
| Vertical Correction | The process of correcting vertical and horizontal distortions (wonky photos) |
| Shadow Correction | The process of lightening up any shadows. |
| White Balancing | The process of making images that appear white in person appear the same in the photo. |
| Highlight Correction | This process restores detail where there are areas of overexposure. |
| Lens Distortion | The process of creating a “fish-eye” look was created by incorrect use of the lens. |
Further Editing 1. Item Removal By the magic of editing, it is possible to remove things like cars, skips, rubbish and other unsightly items that don’t help your photos sell the property. It’s even possible to remove larger items such as scaffolding!
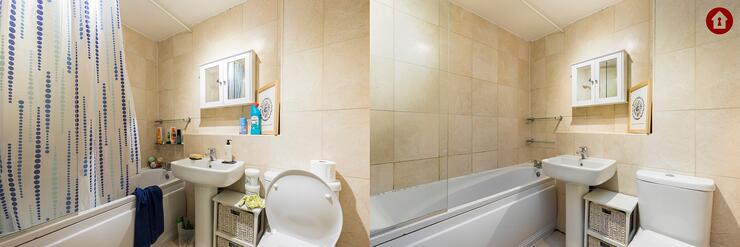
2. Item Addition This can be a great feature for correcting things like damaged lawns – it’s possible to add grass where it should have been! 3. Virtual Staging
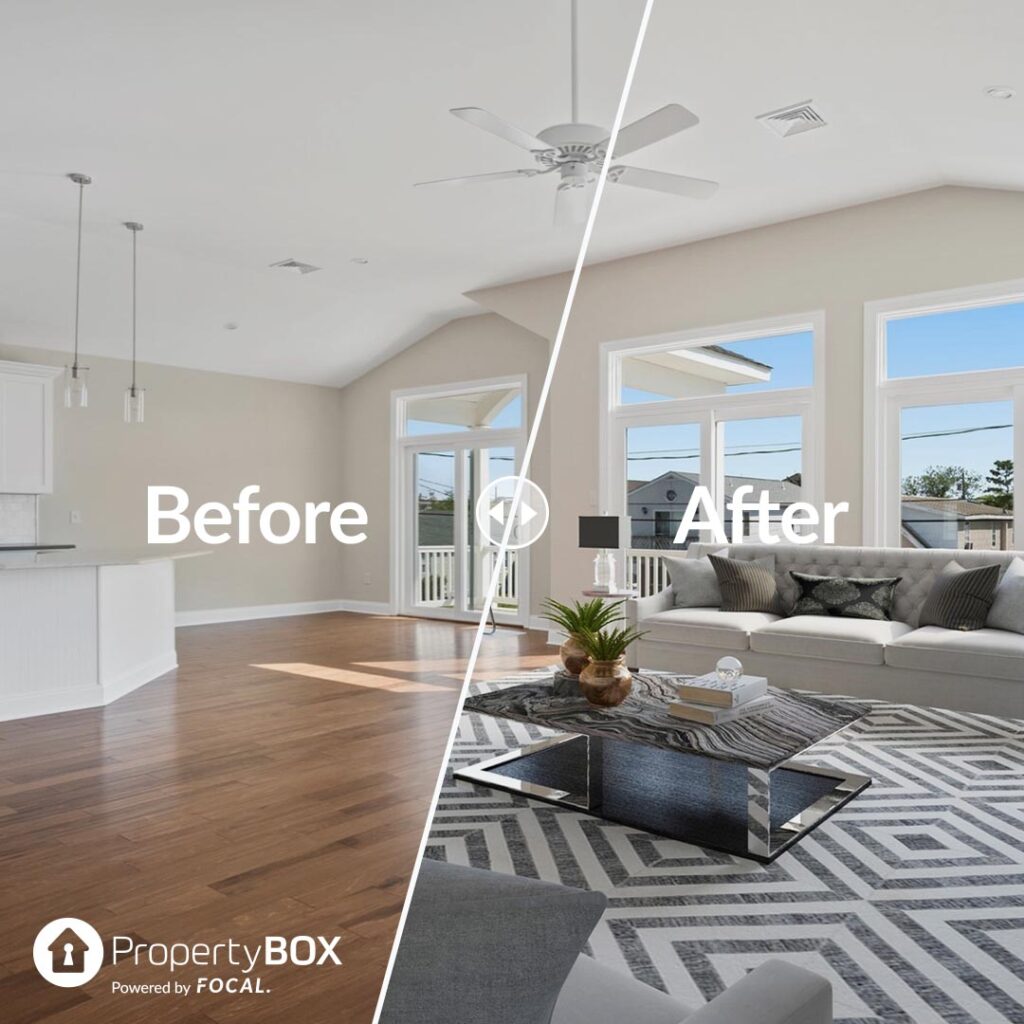
Virtual Staging Example From Propertybox It’s often difficult for buyers to vision their lives in a property if it’s unfurnished – photos of the unfurnished property can therefore attract less interest. A much cheaper and quicker option than paying for real-life staging is to virtually stage. 4. Day to Dusk Dusk photography showcasing a sunset can be exceptionally eye-catching to buyers searching on online portals. Not only can it be difficult to capture these photos yourself, but it also would require you to match your timing with the suns, and that’s if it’s not too cloudy! A much simpler option then, just edit it in! Photo editing, especially these further edits are complex and time consuming to carry out. It’s also difficult (if not impossible) to get a uniform look if different people are editing different photos in different ways. Lack of uniformity across property marketing material often results in an unprofessional appearance especially if you’re uploading photos to your own websites or social media. Using an effective and affordable service like PropertyBox is, therefore, something that you may seriously want to consider.
| Pro Post Production ChecklistGive all photos a Basic Edit to ensure they’re bright enough and eye-catching to people scrolling through the online portals Use further editing such as item removal where necessary to stand out from your competitors and showcase properties in the best possible way. Make sure your final photos are at least 1024 x 638 pixels being the optimum size for uploading to Rightmove. Create your online listings with 5-9 images and refresh them with your additional images in the future. |
PRO TIP: The most viewed listings on Rightmove use a high-quality interior image – Kitchen ideally!
One More Extra For Estate Agents Who Are Serious About Getting More Viewings?
PRO TIP: The most viewed listings on Rightmove use a high-quality interior image as the main image. The kitchen is said to work very well! Floorplans.
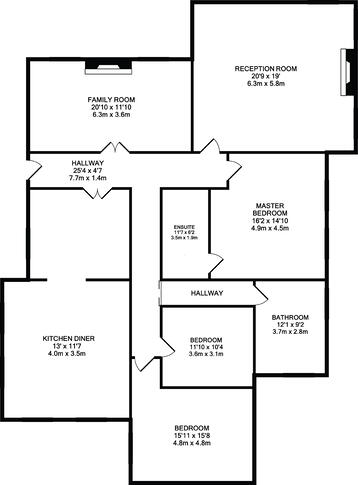
According to Rightmove, 90% of buyers think that a floor plan is essential to an online listing. It’s very simple, listings with floor plans get more clicks and ultimately, more viewings. The quickest and easiest way to create a floor plan for your listing is to use a piece of software that does the job for you. Make sure your floor plan is sized 900 x 900 pixels. Learn more about how to draw floor plans with ease here. A Final Word In 2021, using high-quality photography isn’t optional. It’s an absolute must-have for estate agents who want to sell homes faster, wow vendors and get those referrals. All the tips, strategies and checklists in this post are available for your to download for a FREE guide to Property Photography Mastery For Estate Agents.
