Professional property photography is a genuine skill set that takes a lot of time to master. We may not be able to teach you how to become a pro in this short blog, but we can show you how to start taking significantly better property photos with these very simple tips.
According to Rightmove, high quality estate agent photos attract up to 93% more leads which means that hiring a professional or improving your own skills is more important than ever.
Read our ultimate tips for taking property photos like a pro, here.
Pro Equipment
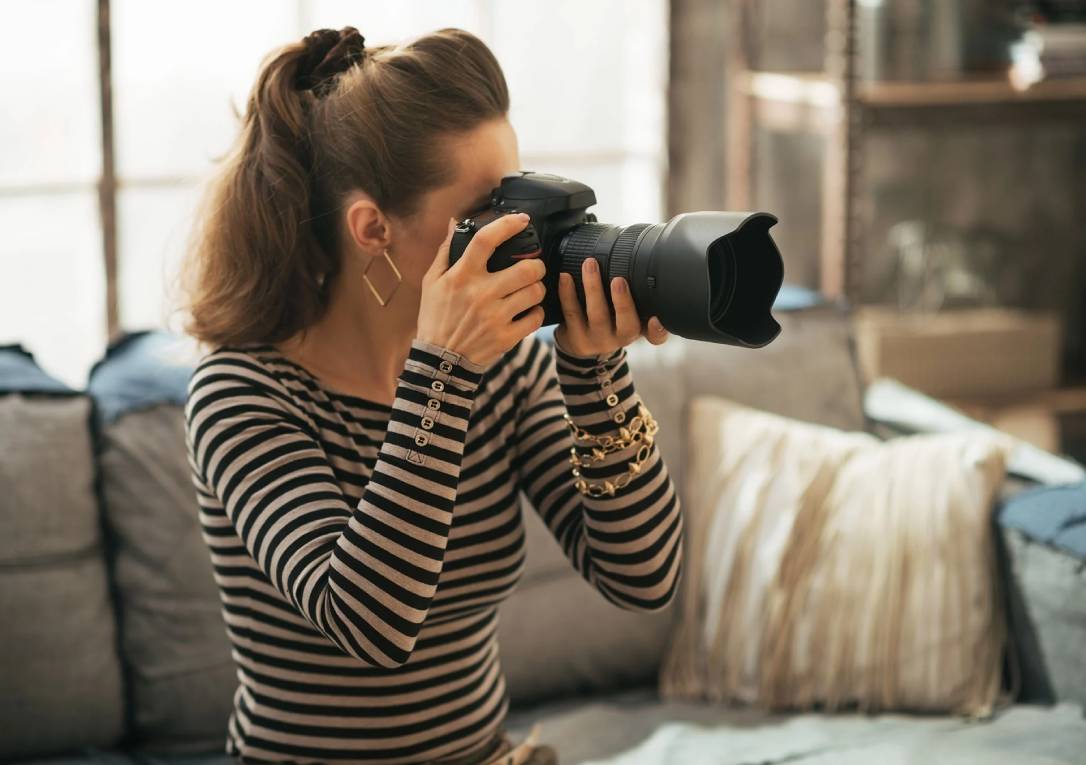
There’s a quote that says “A workman is only as good as his tools”. This is certainly the case for property photography.
It’s not possible to take high quality photos with a phone or even a compact camera.
The basic kit you’ll need looks like this
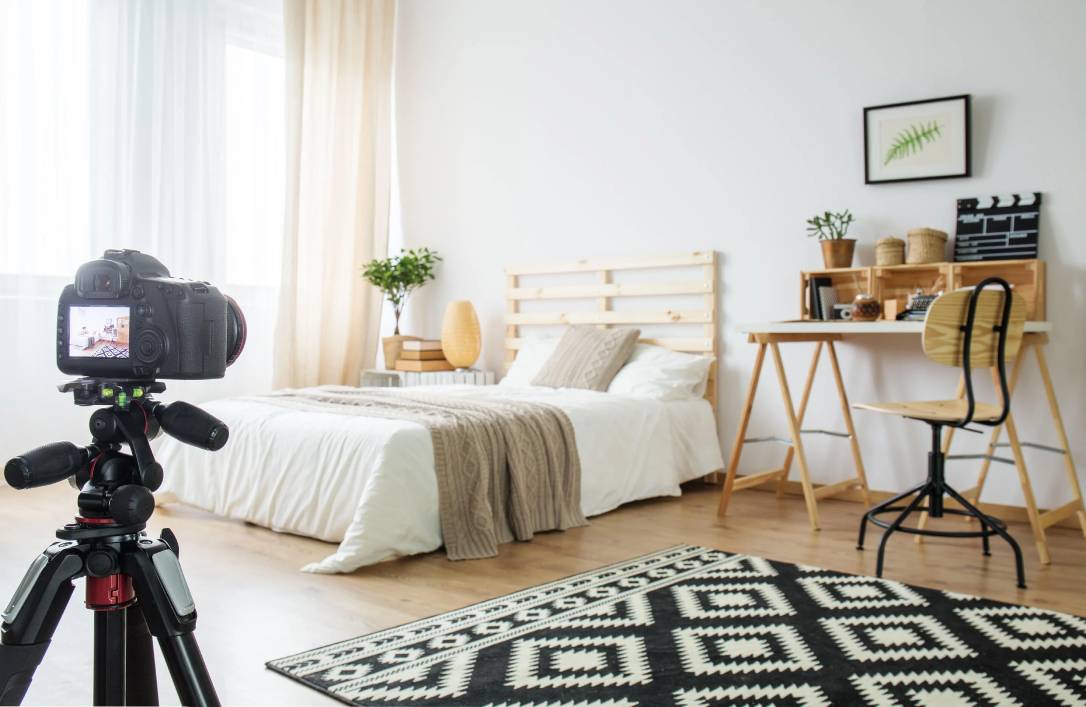
- A DSLR Camera
- A Wide Angle Lens
- A Tripod
- A Memory Card
Our favourite picks for all 4 items come in at under £1500 which is a small price to pay for high quality property photography.
Don’t be tempted to forgo a good wide angle lens. A wide angle lens is absolutely critical to great property photography as it enables you to capture a wider view of the space in a room. Without a good wide angle lens, you can sell a property short making rooms like smaller and more cramped than they even are.
Pro Planning
The main objective of any property photography shoot is to walk away with the right number of quality shots for your to impress your vendor and successfully attract buyers on the online portals.
If you walk into a property with no plan of what to do, you increase the chances of not getting what you need.
Here’s what you plan should look like:
- Have a shot list with you that you follow
- Allow up to 2 hours for shooting a 3000sq ft property so you can take 2-3 pictures of each room
- You need to leave with around 15-25 usable photos for your initial listings and a possible refresh
- Where possible, plan property shoots on less bright days to minimise the impact of light (where not possible we can fix these issues with tip Pro Post Production).
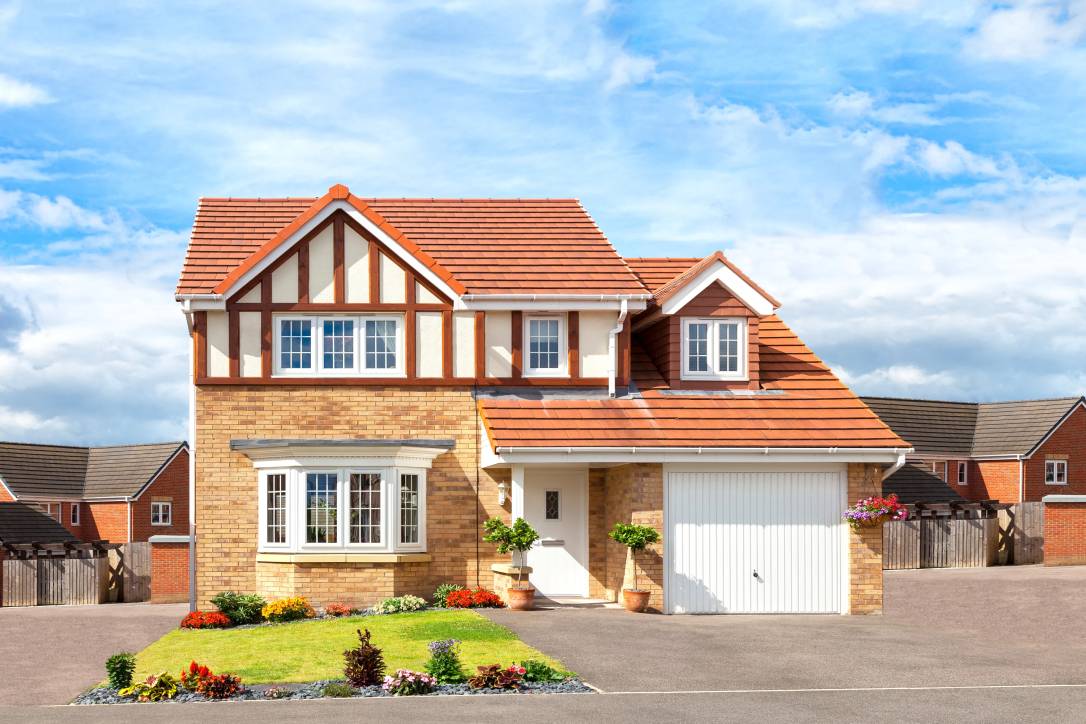
Pro Preparation of the Property
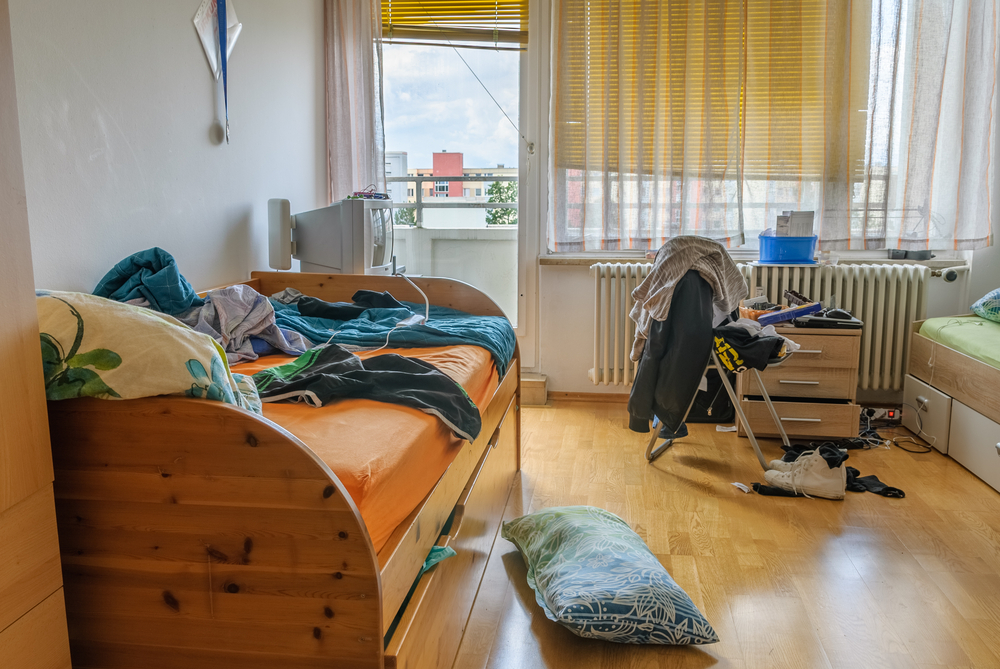
Neither your vendor or potential buyers will be impressed with pictures of a cluttered, messy property. Whilst some of these issues can be fixed with professional editing, the most efficient thing to do is to ensure that the property is properly prepared for the photo shoot.
Use a good preparation checklist to make sure you’ve carried out all the vital steps for getting the property ready. If possible, it’s worth sharing the checklist with the vendor so they can help with the preparation.
The aim is to take photos that help potential buyers visualise themselves in the property. This is easy for them to do when the photos taken present a clean, clutter free space.
Some preparation activities you should carry out:
- Get cars, bins, skips and other rubbish off the drive / front
- Open all doors, curtains and blinds
- Turn on all the lights
- Remove as much clutter / mess as possible
- Excuse any potentially photo-bombing pets
- Make sure toiletries in the bathroom are out of sight
- Turn off TVs
- Put any toilet seats down
Download and print out our free Property Preparation Checklist here so you don’t miss anything on the day.
It’s also a good idea to carry out some easy “on the day” interior styling tips so you can improve the attractiveness of your images and encourage more clicks on the online portals.
Pro Shooting
Once it’s time to start taking pictures, the first thing you need to do is adjust your camera settings. The great news is that you don’t need to know how to use ALL of the settings!
Due to the impact of natural light, taking indoor and outdoor photos are two completely different exercises. It’s therefore not recommended that you use any Auto settings. The settings table in our Ultimate Guide shows you easy settings you can use for both exterior and interior photos.
Most Important Tips For Taking Your Photos
- Always use a tripod. This is to ensure your photos are taken at the right height and also to avoid the impact of an unsteady hand.
- Always take photos landscape and use a spirit level bubble to ensure the camera is perfectly straight.
- Take photos from a corner position so that you get 3 walls in the shot. In smaller rooms rooms, try a doorway shot.
- Use a timer or remote so that you can get out of the way and avoid your reflection cropping up.
- Ensure that your photos don’t capture too much floor or ceiling by taking them at the right height.
- When taking interior shots, ensure all lights are on and blinds/curtains are open.
- Take 2-3 shots of each room to ensure you get at least one usable one.
Pro Post Production
If you’re using professional photography or your photos are taken to a really high standard, you’ll need less post production – editing.
However, as your photos are the primary things potential buyers see when looking at your listings, it’s recommended that ALL your photos undergo a basic edit. The basic edit consists of mainly enhancement edits that make your photos more attractive to the eye.
In situations where the property was not properly prepared, the listing is particularly competitive or the images are otherwise not of a high enough standard, you will need to carry out some more complicated edits.
These may include:
- Item removals
- Item additions
- Virtual staging
- Reflection removals
Property photo editing is also a skill, even basic editing. If you are adept at using software like Adobe Photoshop or Lightroom, you may be able to do these edits yourself. If not however, it’s suggested that you use a professional photo editing service such as PropertyBox who can perfectly edit your photos and return them to you in as little as 4 hours.
Following these 5 simple tips to property photography for estate agents, you will now be able to produce a much higher quality of real estate photos. To read more about mastering these 5 steps to property photography, click here.