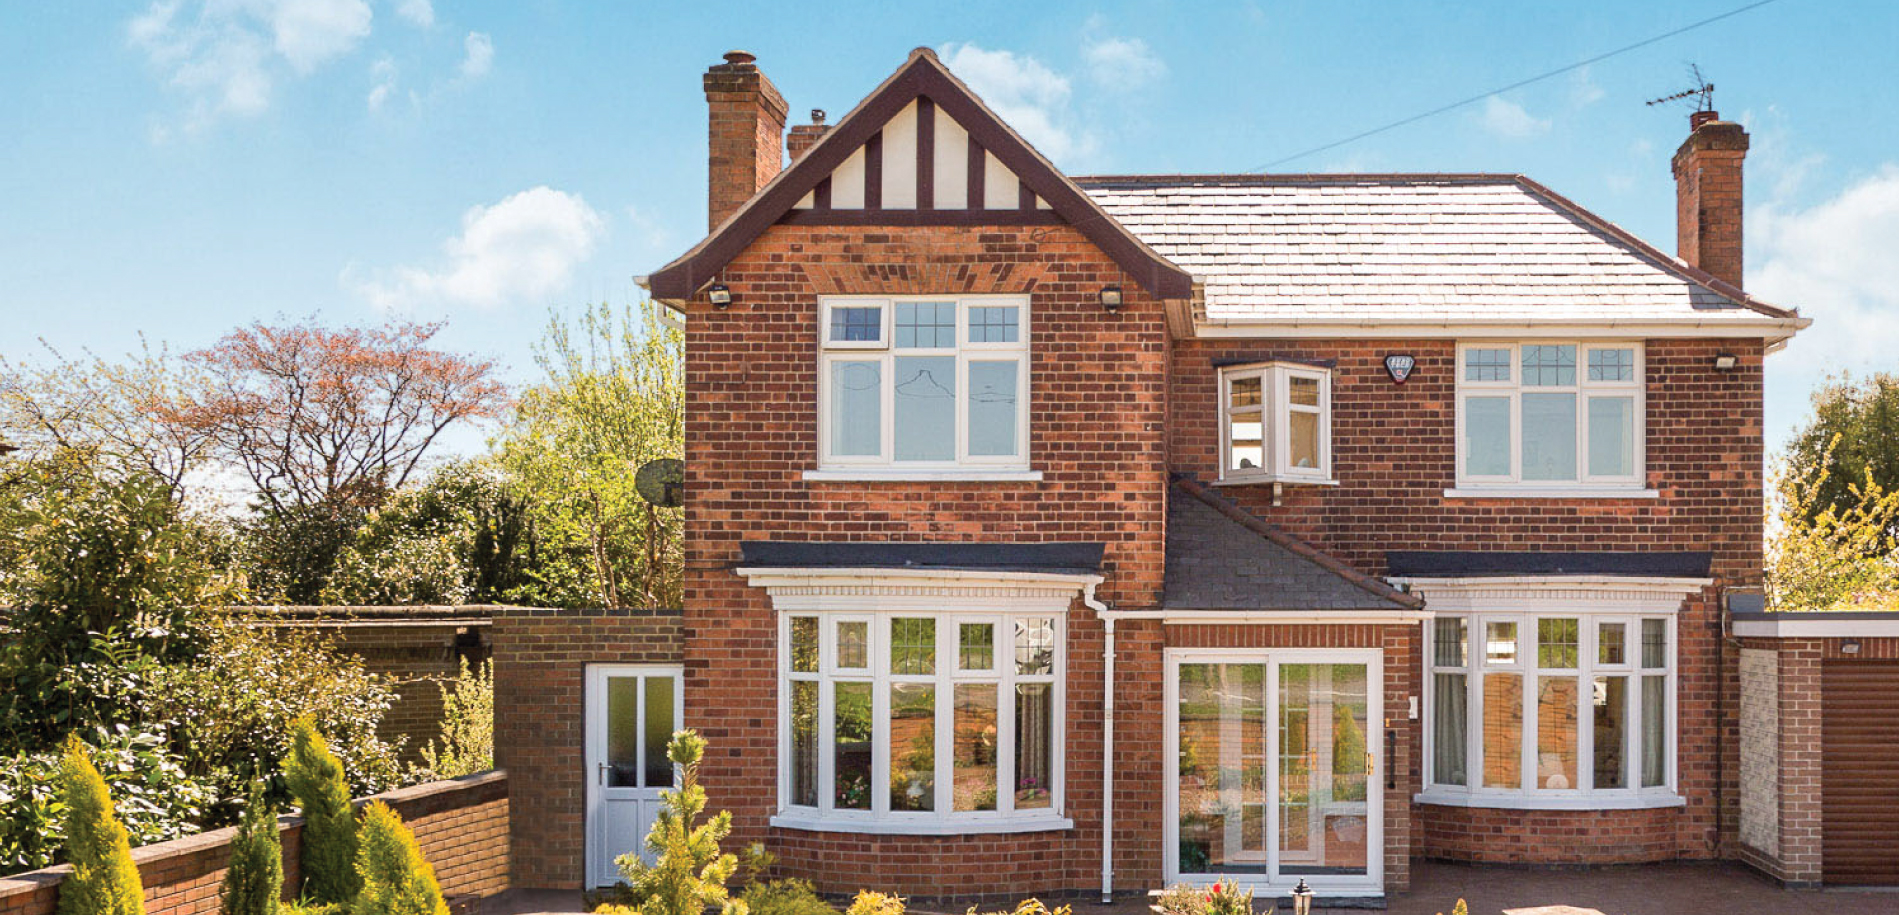
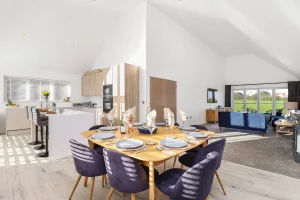
Rightmove classify property photography as ESSENTIAL in attracting and making an impression on buyers.
In fact, properties listed with professional photography sell up to 3 weeks faster. That’s good for you and good for your vendors!
Attracting buyers is both about the quality of the images but also ensuring that your listings have the optimal images and number of them to successfully draw the attention of potential buyers.
You can learn more about how to take high quality real estate photography in our ultimate property photography blog here.
The Basics of Estate Agent Photography
The best property photography is the type that captures the attention of potential buyers and makes them want to stop and click into your listing. Of course, professional photography is the optimal option here but if you are taking your own real estate photos, make sure you:
- Have the right kit
- You allow enough time to take all the photos you need
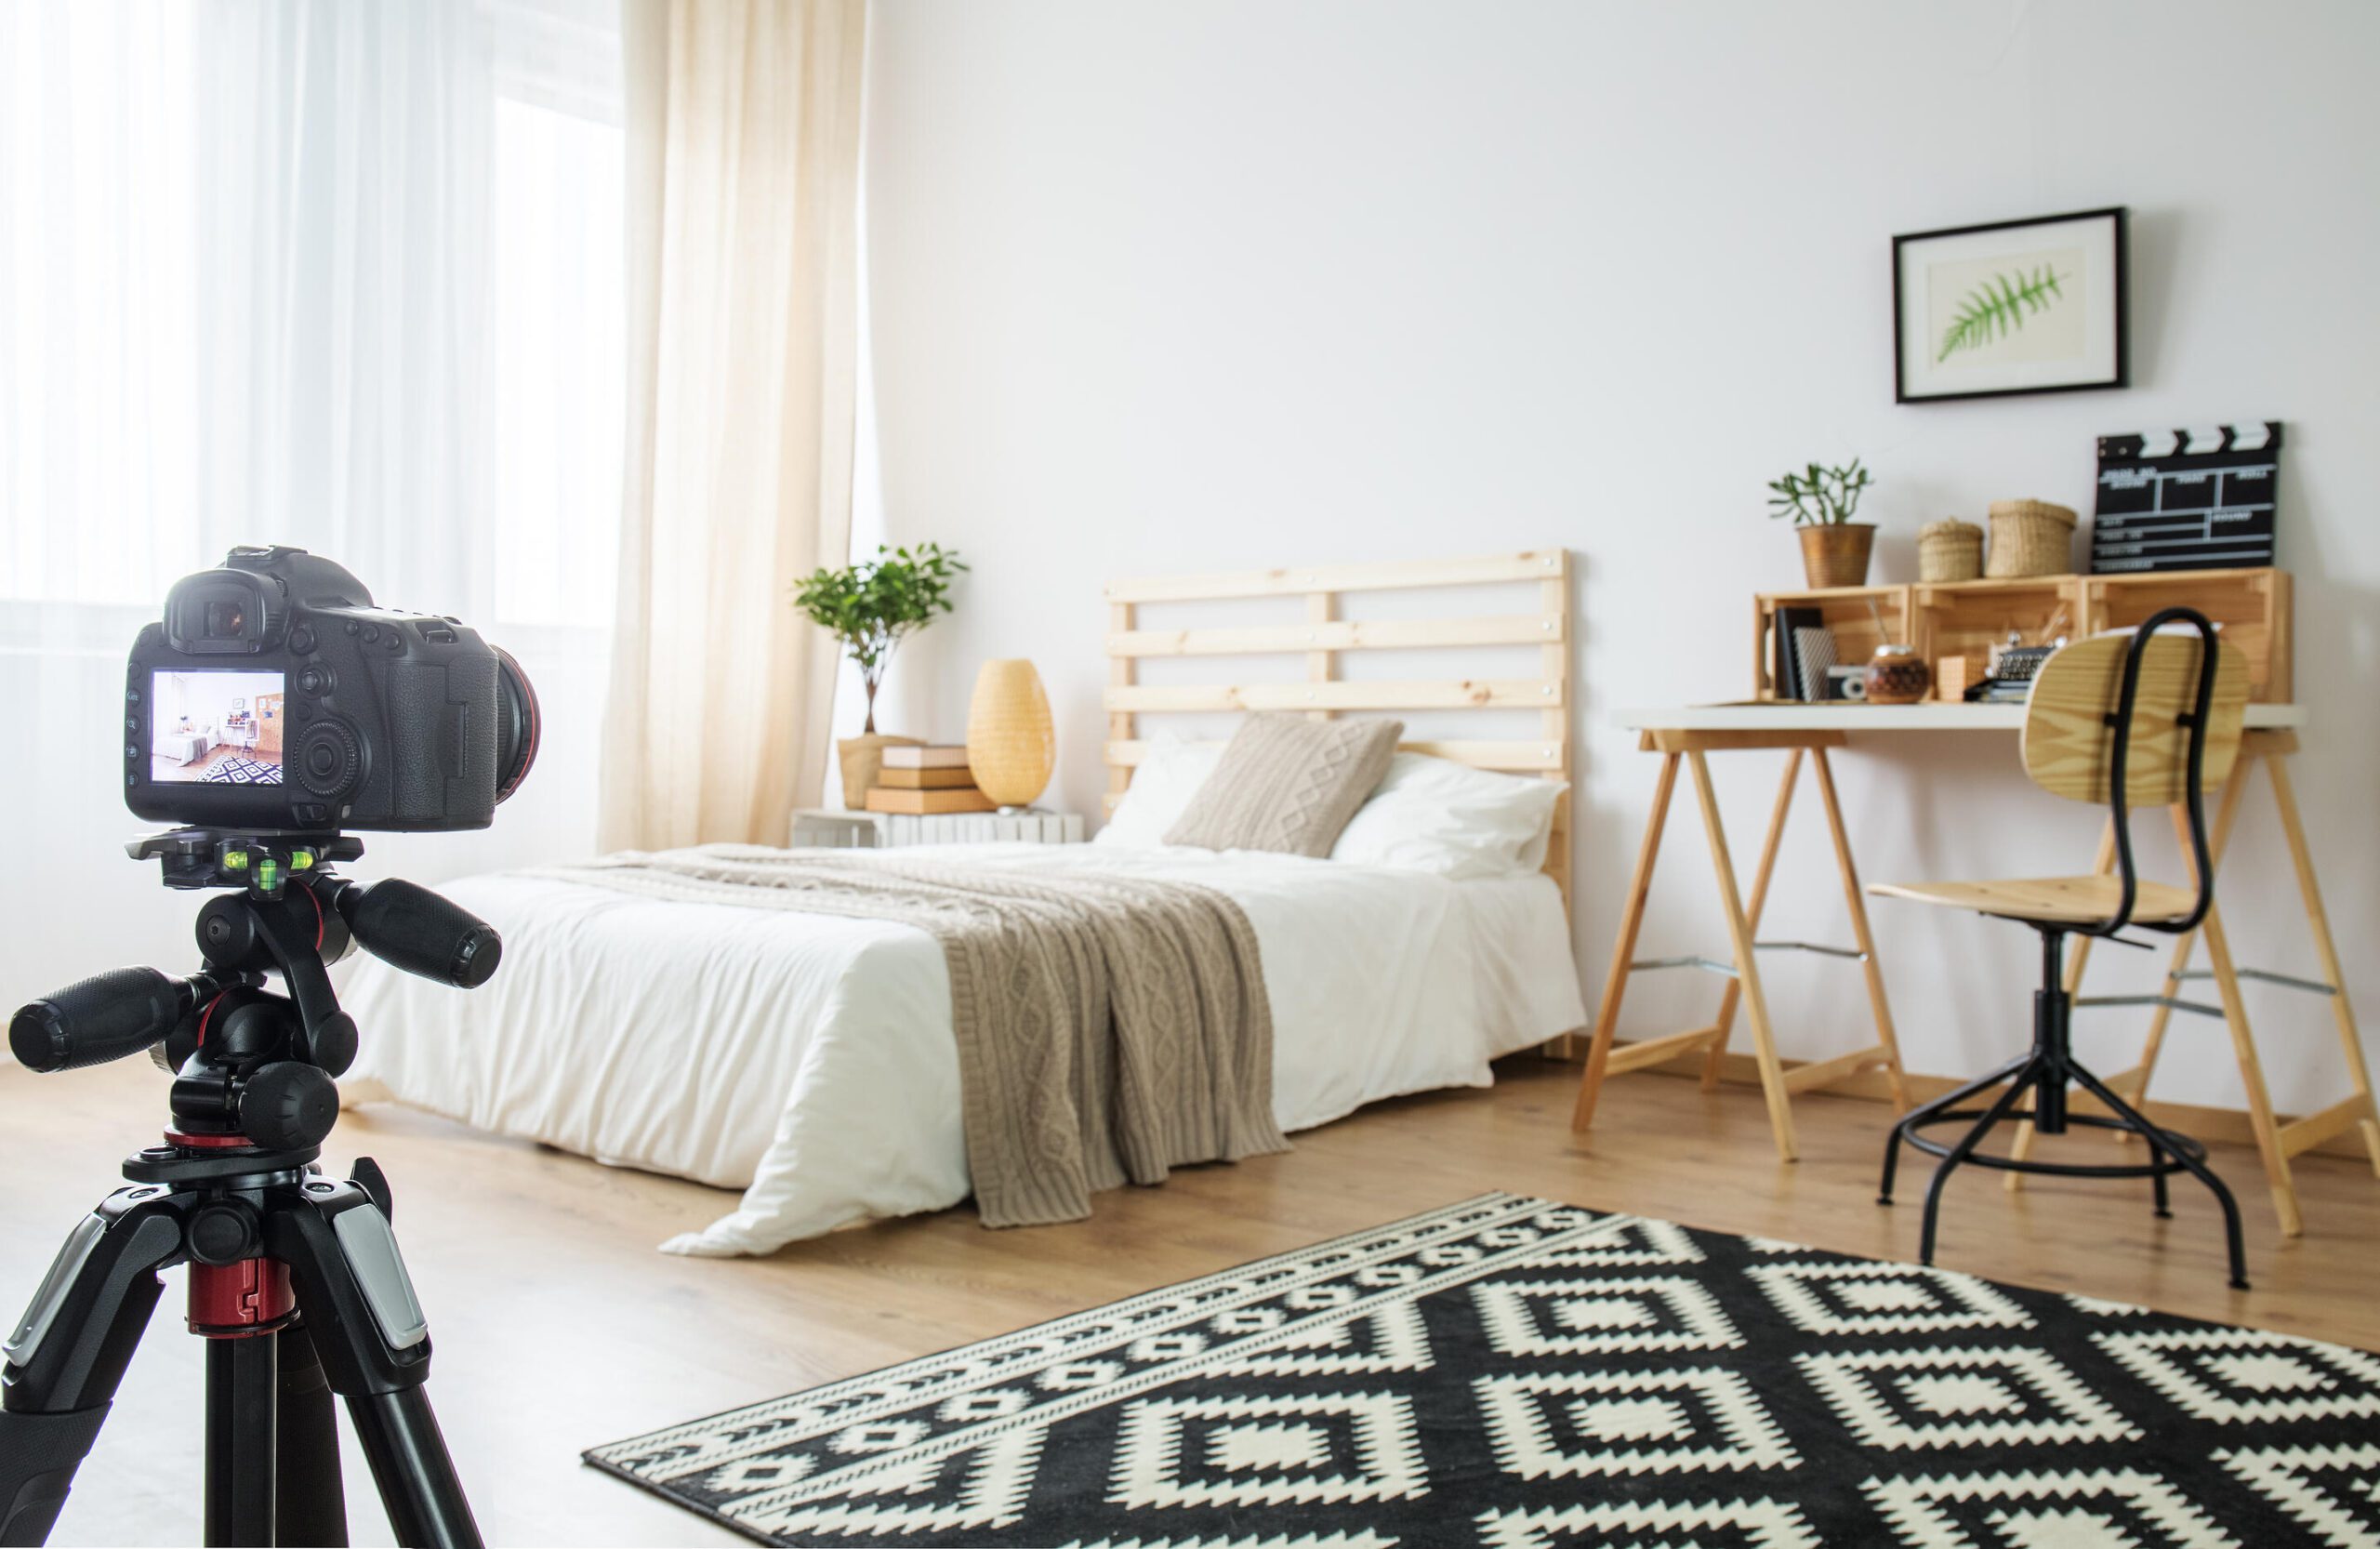
- You prep the property to make sure you capture the best possible images
- You take all your photos at the right height and angle
- All of your photos have at least a basic edit
The ins and out of how to take professional photos of properties can be found in our free ebook for Property Photography Mastery.
What Shots Do I Need To Attract Buyers?
The purpose of your property photos is to provide a visual aid for buyers to see themselves in the property. Great property photography makes it easier for someone to do this.
This means you need to allow enough time at the property to take photos of all the primary rooms, any special features & fittings, the exterior front and back and anything else that is likely to capture the attention and interest of potential buyers.
- You should allow 2 hours to shoot a property of around 3000 sq ft.
- Capture 2-3 images of each room taking the picture from a corner position where you can capture 3 walls of the room.
- Use the Professional Property Photographer Shot List to make sure you’ve got all your shots.
Potential buyers will find it frustrating and are much less likely to arrange a viewing if they don’t get a glimpse of a pivotal room such as the bathroom or bedroom so don’t skip these! If these critical rooms could not be properly prepared in advance, consider using a professional property photo editing service to enhance the images and remove any items that are making them unappealing.
The most important thing to remember is that if what you are photographing isn’t something that would be of interest or value to potential buyers, you don’t need it! Therefore a tight bedroom shot showing nothing much more than a scruffily made bed really doesn’t need to make the cut!
You can avoid terrible estate agent images by implementing the tips and tricks in our ultimate property photography blog.
#ProTip: Interior photography draws the most interest on the online portals. Make sure you capture great interior photos using using these tips and use one as the main image in your listing.
How Many Do You Need In My Listing To Attract More Buyers?
You should include between 5-9 images on your Rightmove (and other property portal) listings. These 5-9 images should include all the most important rooms and any appealing features.
#ProTip: If you’ve taken 2-3 shots of each room, consider refreshing your listing with new images (especially the main one) every 2 weeks.
Checklist For Taking House Selling Photos:
- Hire a professional or ensure that you have the right photography equipment and techniques for taking the best possible photos.
- Download our shot list and property preparation checklists to make sure you don’t waste time on the photo shoot.
- Allow sufficient time to get 2-3 images of all the rooms and any special features.
- Always give your photos at least a basic edit and upload 5-9 images in your online listings.
- Use your remaining images to refresh your listings (in particular the main image) every 2 weeks.
